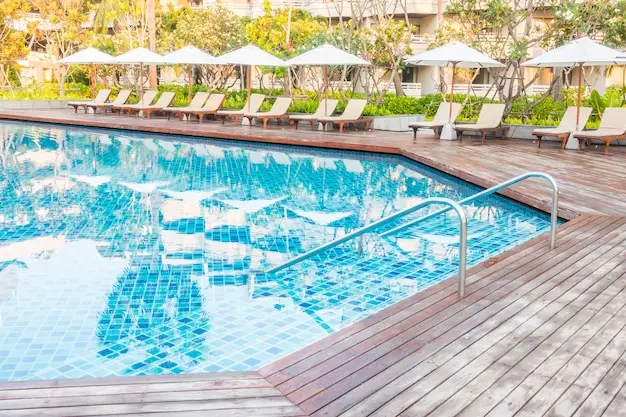
The pool heater is a big investment for your swimming pool, and correct installation is necessary for its proper working. While in-ground or above-ground pool installations are complex, gas pool heater maintenance is relatively easier.
Pool heaters are different from traditional gas heaters. Unlike gas heaters, pool heaters don’t produce heat. Instead, the ambient air is utilized to heat the pool water. Thus, pool heaters are a considerable way to save energy consumption and get soothing warm water.
Installing a pool heater is a simple task and can be done by the pool owner (you), local engineer, or pool installation experts like us. With the right tools and techniques, installation might take 2-3 hours of your time. If you want to install a pool heater, here is step-by-step guidance for a successful installation.
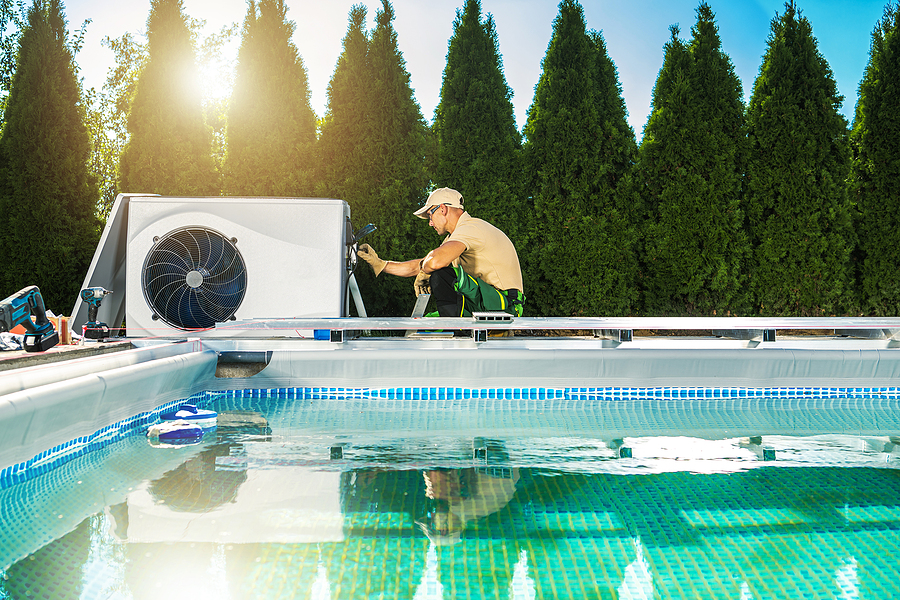
Can I Install My Own Pool Heater?
You can install a pool heater yourself. Most pool heaters are easy to install. Just common sense, and general guidelines as explained below in the blog.
However, you need a professional for dealing with electrical boxes as the heaters are hardwired into the electrical junction and a dedicated circuit is required to put them all together. This is something you won’t be able to handle alone. If yes, great! You can do DIY heat pump installation.
Is It Worth Putting A Heater In The Pool?
Well, it depends on various factors like climate, budget, and usage preferences. With pool heaters, you can extend the pool season beyond the warm summer. You can have more relaxation, enjoyment, and health benefits from regular swimming.
As a homeowner, enjoying a warm pool year-round with peace of mind is a worthwhile investment.

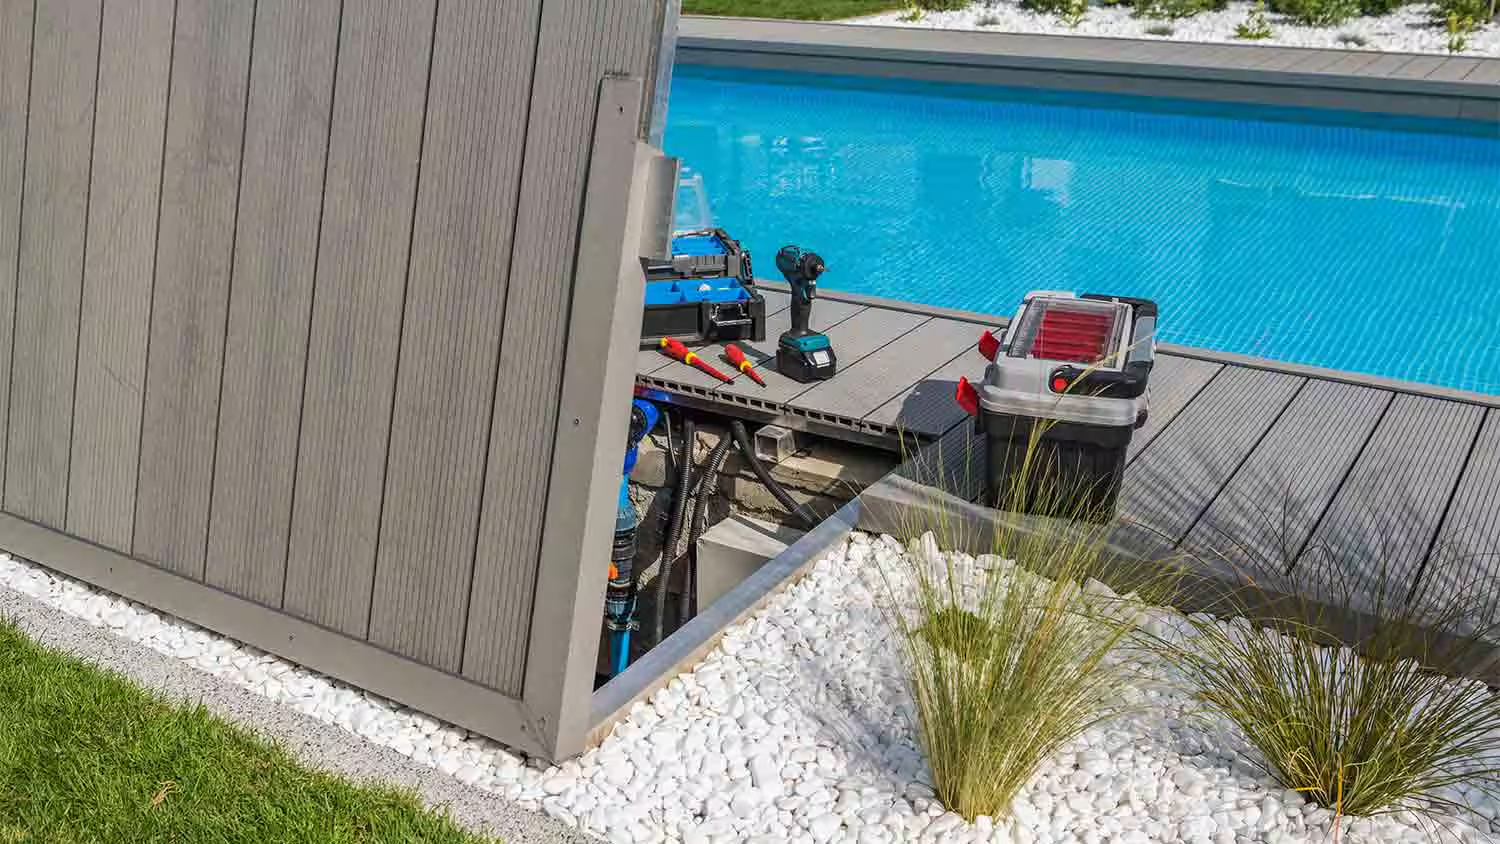
Pool Heater Pre-installation Considerations
Consider professional assistance, especially for a gas heater, due to their safety concerns and complexity. Professionals adhere to the safety standards and local codes, thus assisting in a secure installation process.
- Based on your pool heater, the necessary tools and materials needed for installation can vary, but general amenities include plumbing supplies, hand tools, and gas line fittings.
- Make sure you understand the unique requirements of your chosen pool heater. It includes ventilation needs, access to gas or power lines, and space considerations.
- The installation area should be accessible, level, and stable for maintenance.
- Don’t forget to comply with building codes and safety regulations. Gas pool heaters include proper ventilation and fixed gas connections to prevent leaks
Preparing Tools
- Screwdrivers
- Wrenches
- Pipe cutters
- Sealing tape
- Pliers
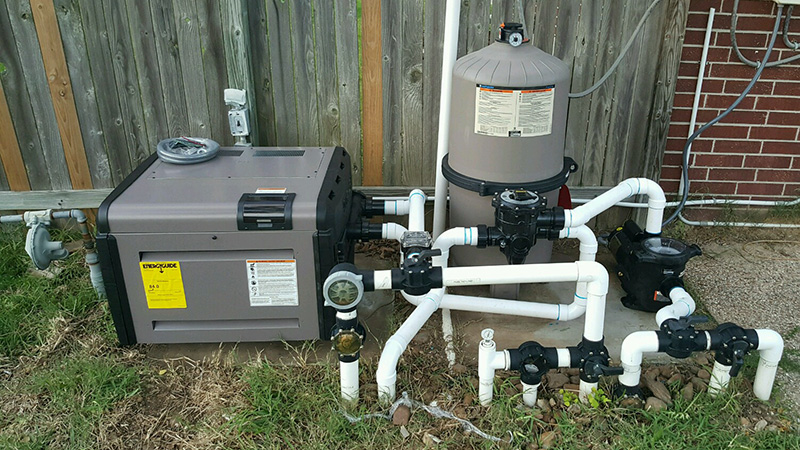
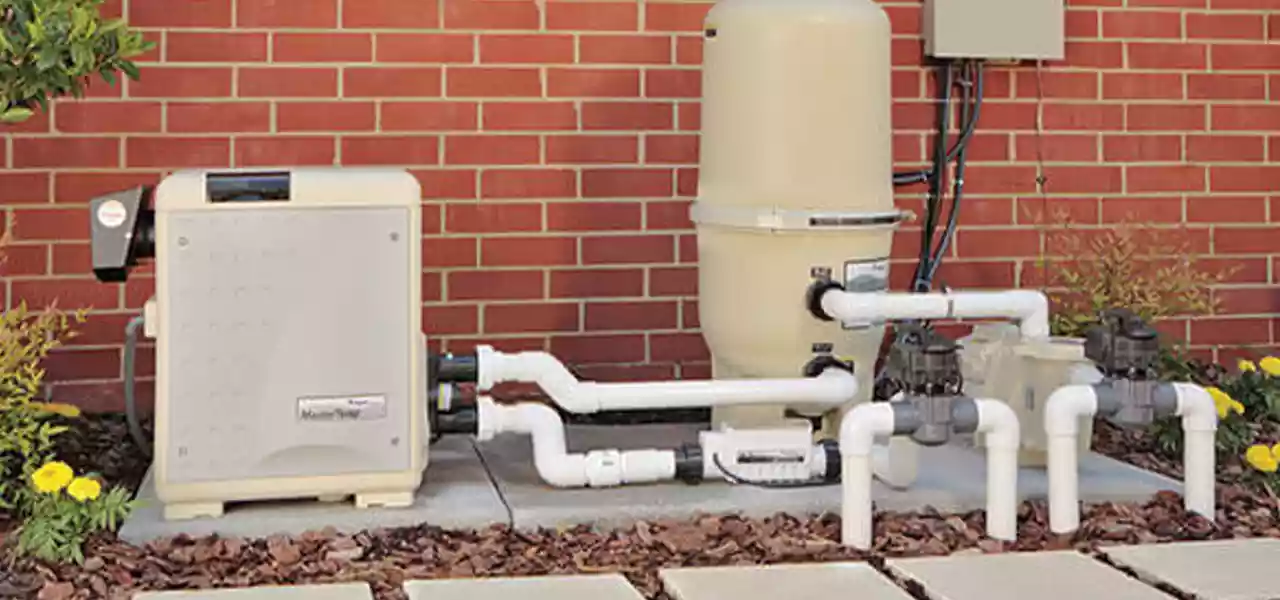
Steps To Install A Gas Pool Heater
Before installation, make sure the installation area is free of debris, dirt, roots, or stones. Take out the previous heater, electrical wires, and gas lines before proceeding. In the case of a propane heater, remove all the gas from it to avoid any damage. Once the location is ready, it’s time to install a new gas pool heater.
1. Choose Right Pool Heater
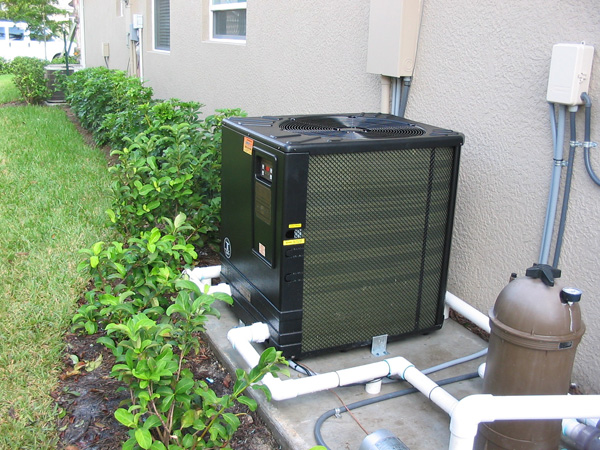
Choose the best heater that suits your taste, budget, and pool characteristics. If you are looking for an efficient device that saves energy consumption as well, you probably go with the gas heater.
Climate has a key role in deciding the right heater for your pool. Electrical heaters are suitable in areas of occasional heating needs. Gas heaters are best for colder environments- instant heat despite outside temperatures.
A small pool heater is enough for a 100-gallon pool. Large pools require powerful heaters which can produce enough warmth for an entire pool.
2. Suitable Installation Location
The next step is to decide the place for pool installation. It depends on:
- Shape and size of your pool
- Space for equipment and maneuvering tools
For example, if the backyard has little room between trees and structures, you should consider placing the pool close to the front.
Once the place is decided, mark necessary boundaries such as cones or flags. It prevents any mistakes you can make during heater installation.
Pro Tip: Add extra food on all pool sides to move equipment easily.
An under-pool heater provides heat to the swimming pool for several months. To guarantee the highest efficiency, remove all the obstacles like tables and chairs to keep the area completely clear. Do not block the access between the heater’s power cord and outlet.
3. Install the Equipment Pad
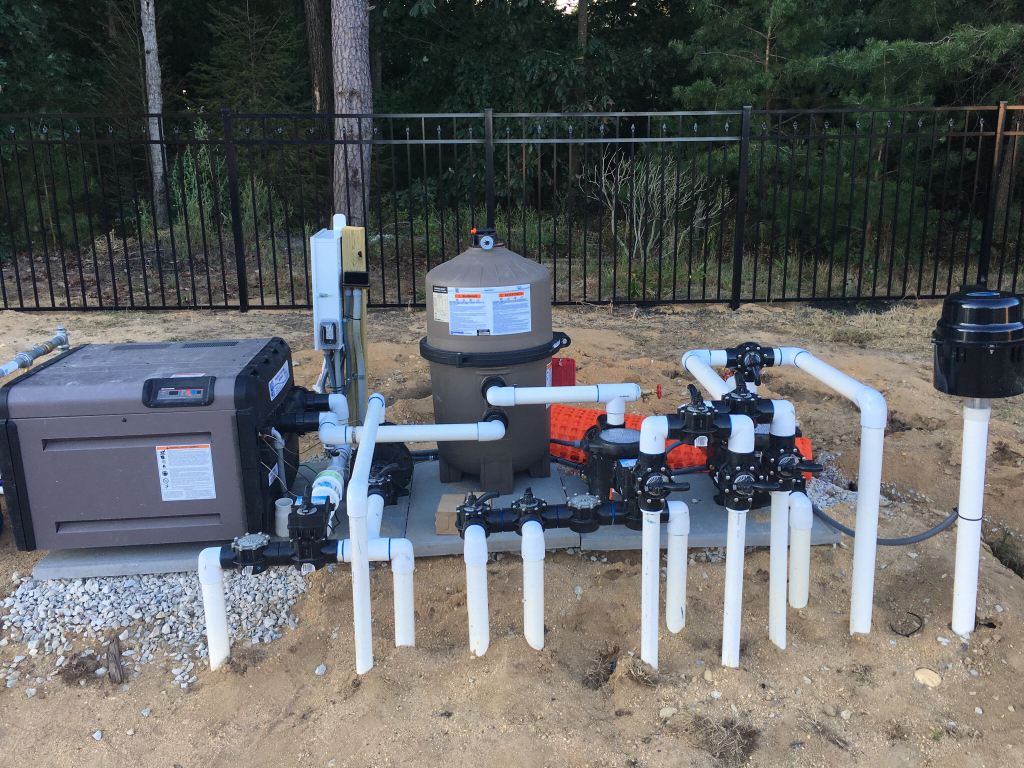
Dig a hole for the equipment pad- used to secure heater components in place. You can use a marker to outline the digging area. The hole must be deep and large enough to help components fit tightly, but not too big to cause stability problems.
Next place the junction box on top of the installation area, right above where all pipings will be buried. Then place and connect the heater components (namely cables) from the equipment pad and the junction box, as well as the gas line from the regulator.
Finally, secure the equipment pad to the installation area. Use a hammer and screws or nails depending on your need as well as concrete mix for extra stability.
4. Connect the Swimming Pool Heater
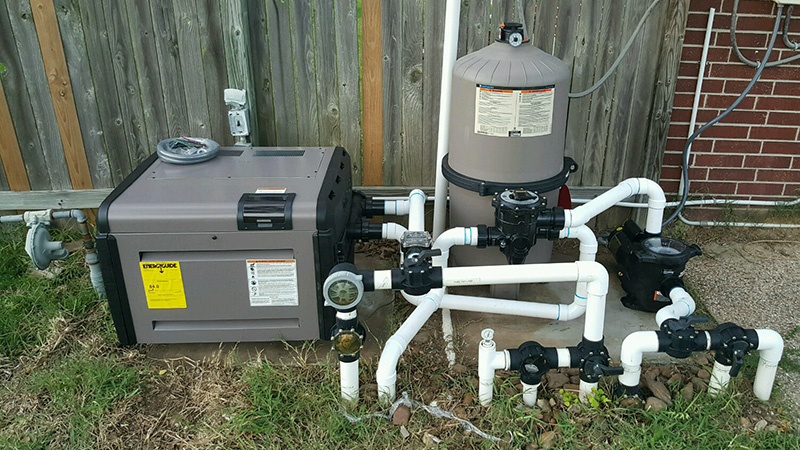
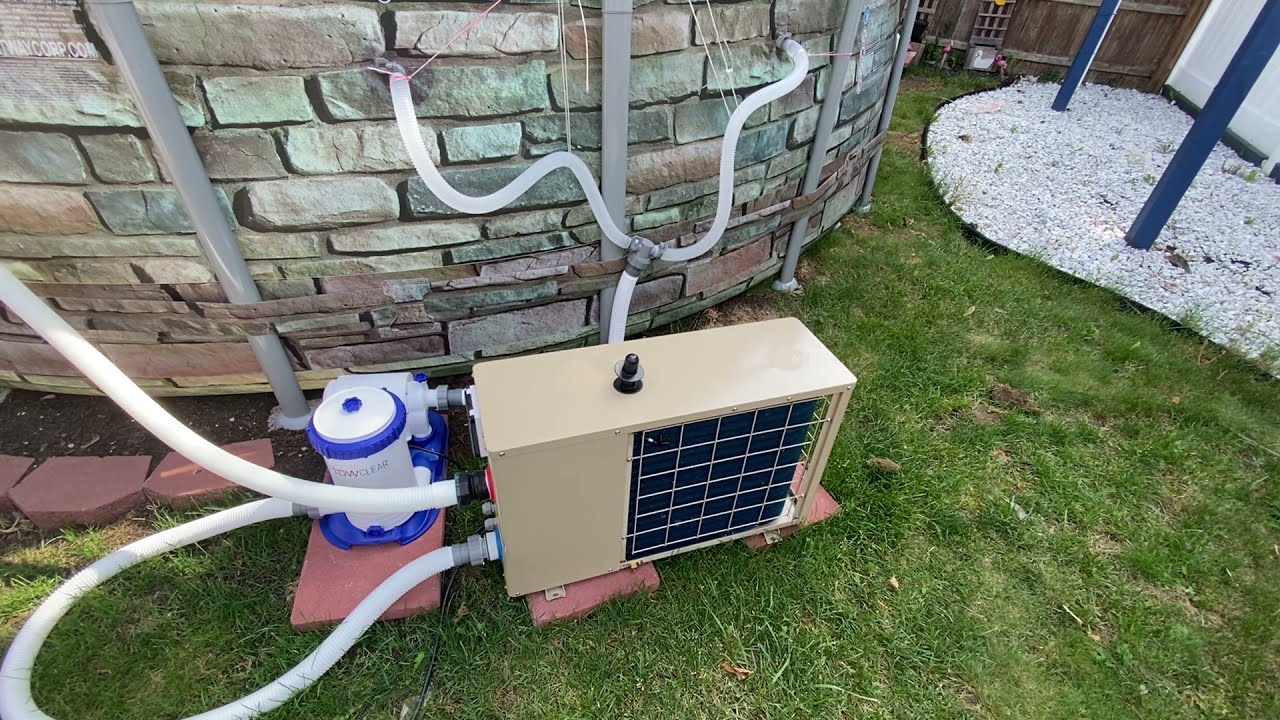
Use a ratchet or wrench to tighten the connection points of components- don’t over-tighten as the valves and pipes may be damaged. You can use Teflon tape for connections to prevent leaks and easy disassembly.
Once everything is connected, turn on the pool heater by turning off shut valves and opening up gas lines. If everything is working properly, your DIY installation is successful. Conduct a safety inspection before using the pool heater. Check all connections and review operational guides.
Swimming Pool Heat Pump Installation Tips
- Choose the location where the heater can get quality airflow. Quality air flow is necessary for the optimal functioning of the pool heater.
- Most people think they have to drain their pool before heater installation. That’s not right! Drawing the pool makes it harder to install and monitor gas pool heaters.
- Measure the space in your pool for heater installation so it doesn’t get caught on anything.
- You can use multiple heaters in parallel or series for a large pool. It’s better to contact heater installation professionals to avoid any damage.
- Make sure the expelled heat from the fan is not damaging anything or recirculating back.
- Leave enough room, at least 18 inches above, above the heater for smooth airflow. Otherwise, expect rust and corrosion problems.
- For horizontal fan heaters, you can build a hole in the wall and place the fan facing it for easy and efficient expulsion of air.
- For indoor pools, the normal temperature is 1 degree warmer than the pool water.
- Pay attention to the specification table. If the flow rate is too low, the pool heater will overheat and switch off.
- If you use propane or natural gas as a fuel source, don’t install the pool heater inside your house. If you decide on indoor installation, make sure there’s plenty of space for ventilation as CO can build up around the pool heater.
Caution: Accumulating CO can cause suffocation and even death if ignored. Take the ventilation measures seriously!
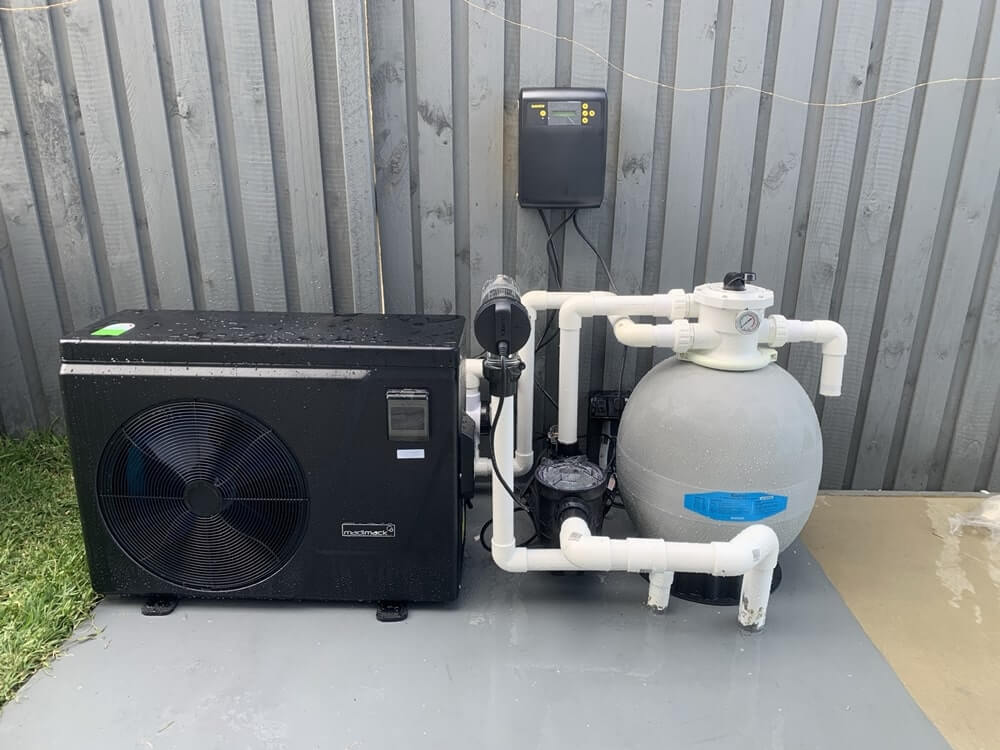
Install Your Pool Heat Pump With Professionals
Pool heater installation can be a rewarding project, but seeking professional guidance, like from Guerrero Landscaping, is a smart choice. Our experts understand the complexity of planning and execution you may face during installation.
With these guidelines and expert consultation, we guarantee the delightful and warm pool experience you have been waiting for.
To know more about the installation services, please contact us here.


