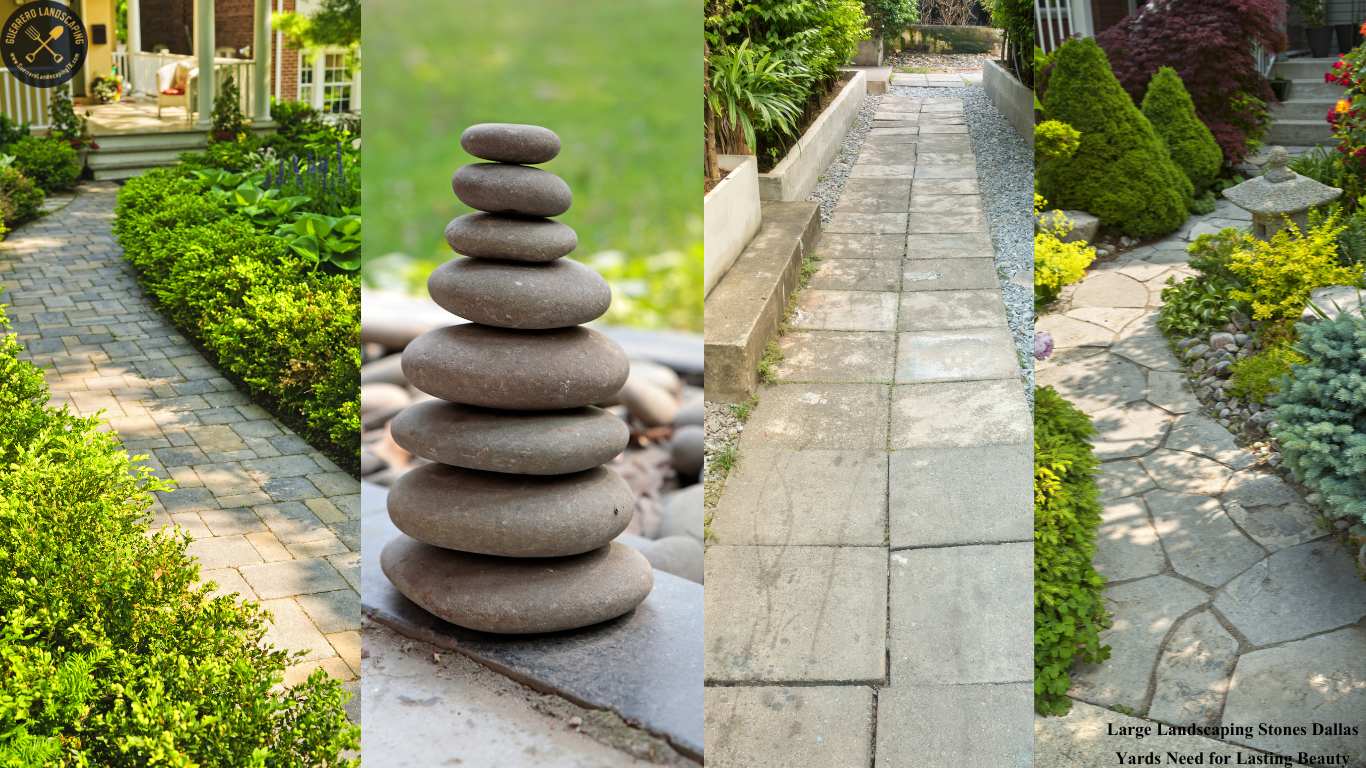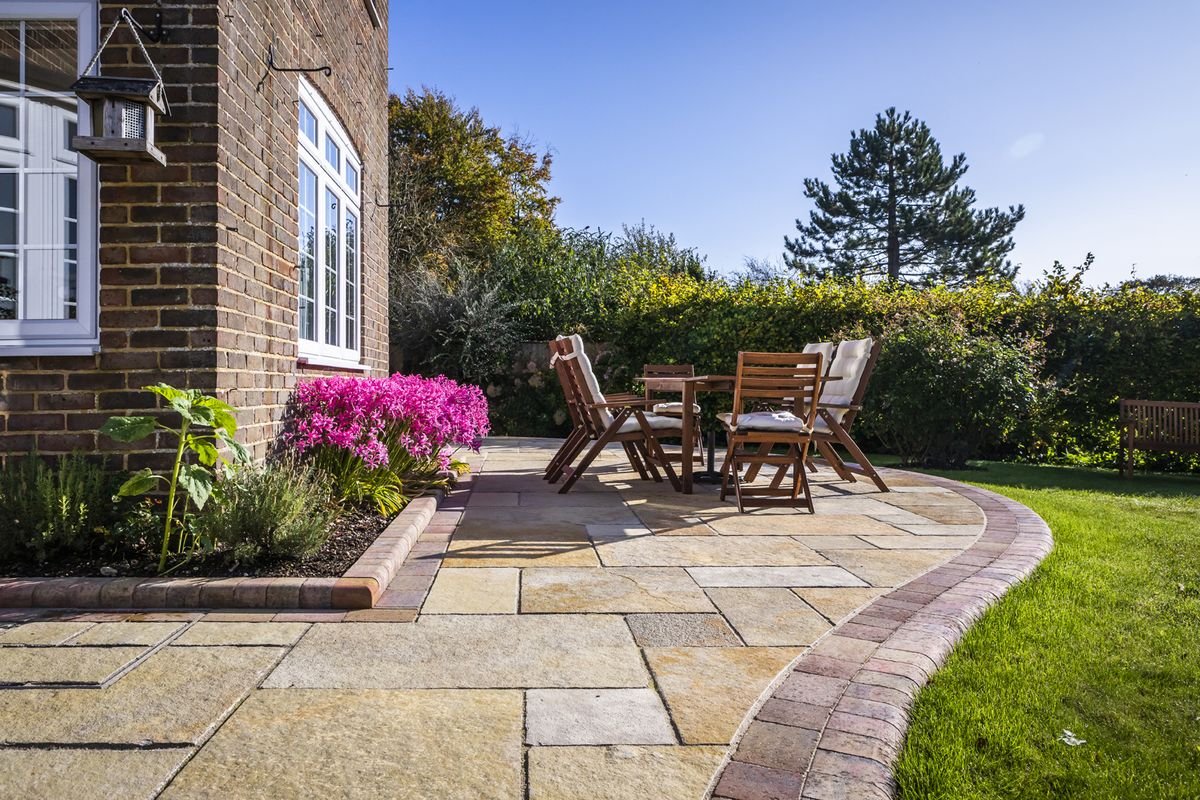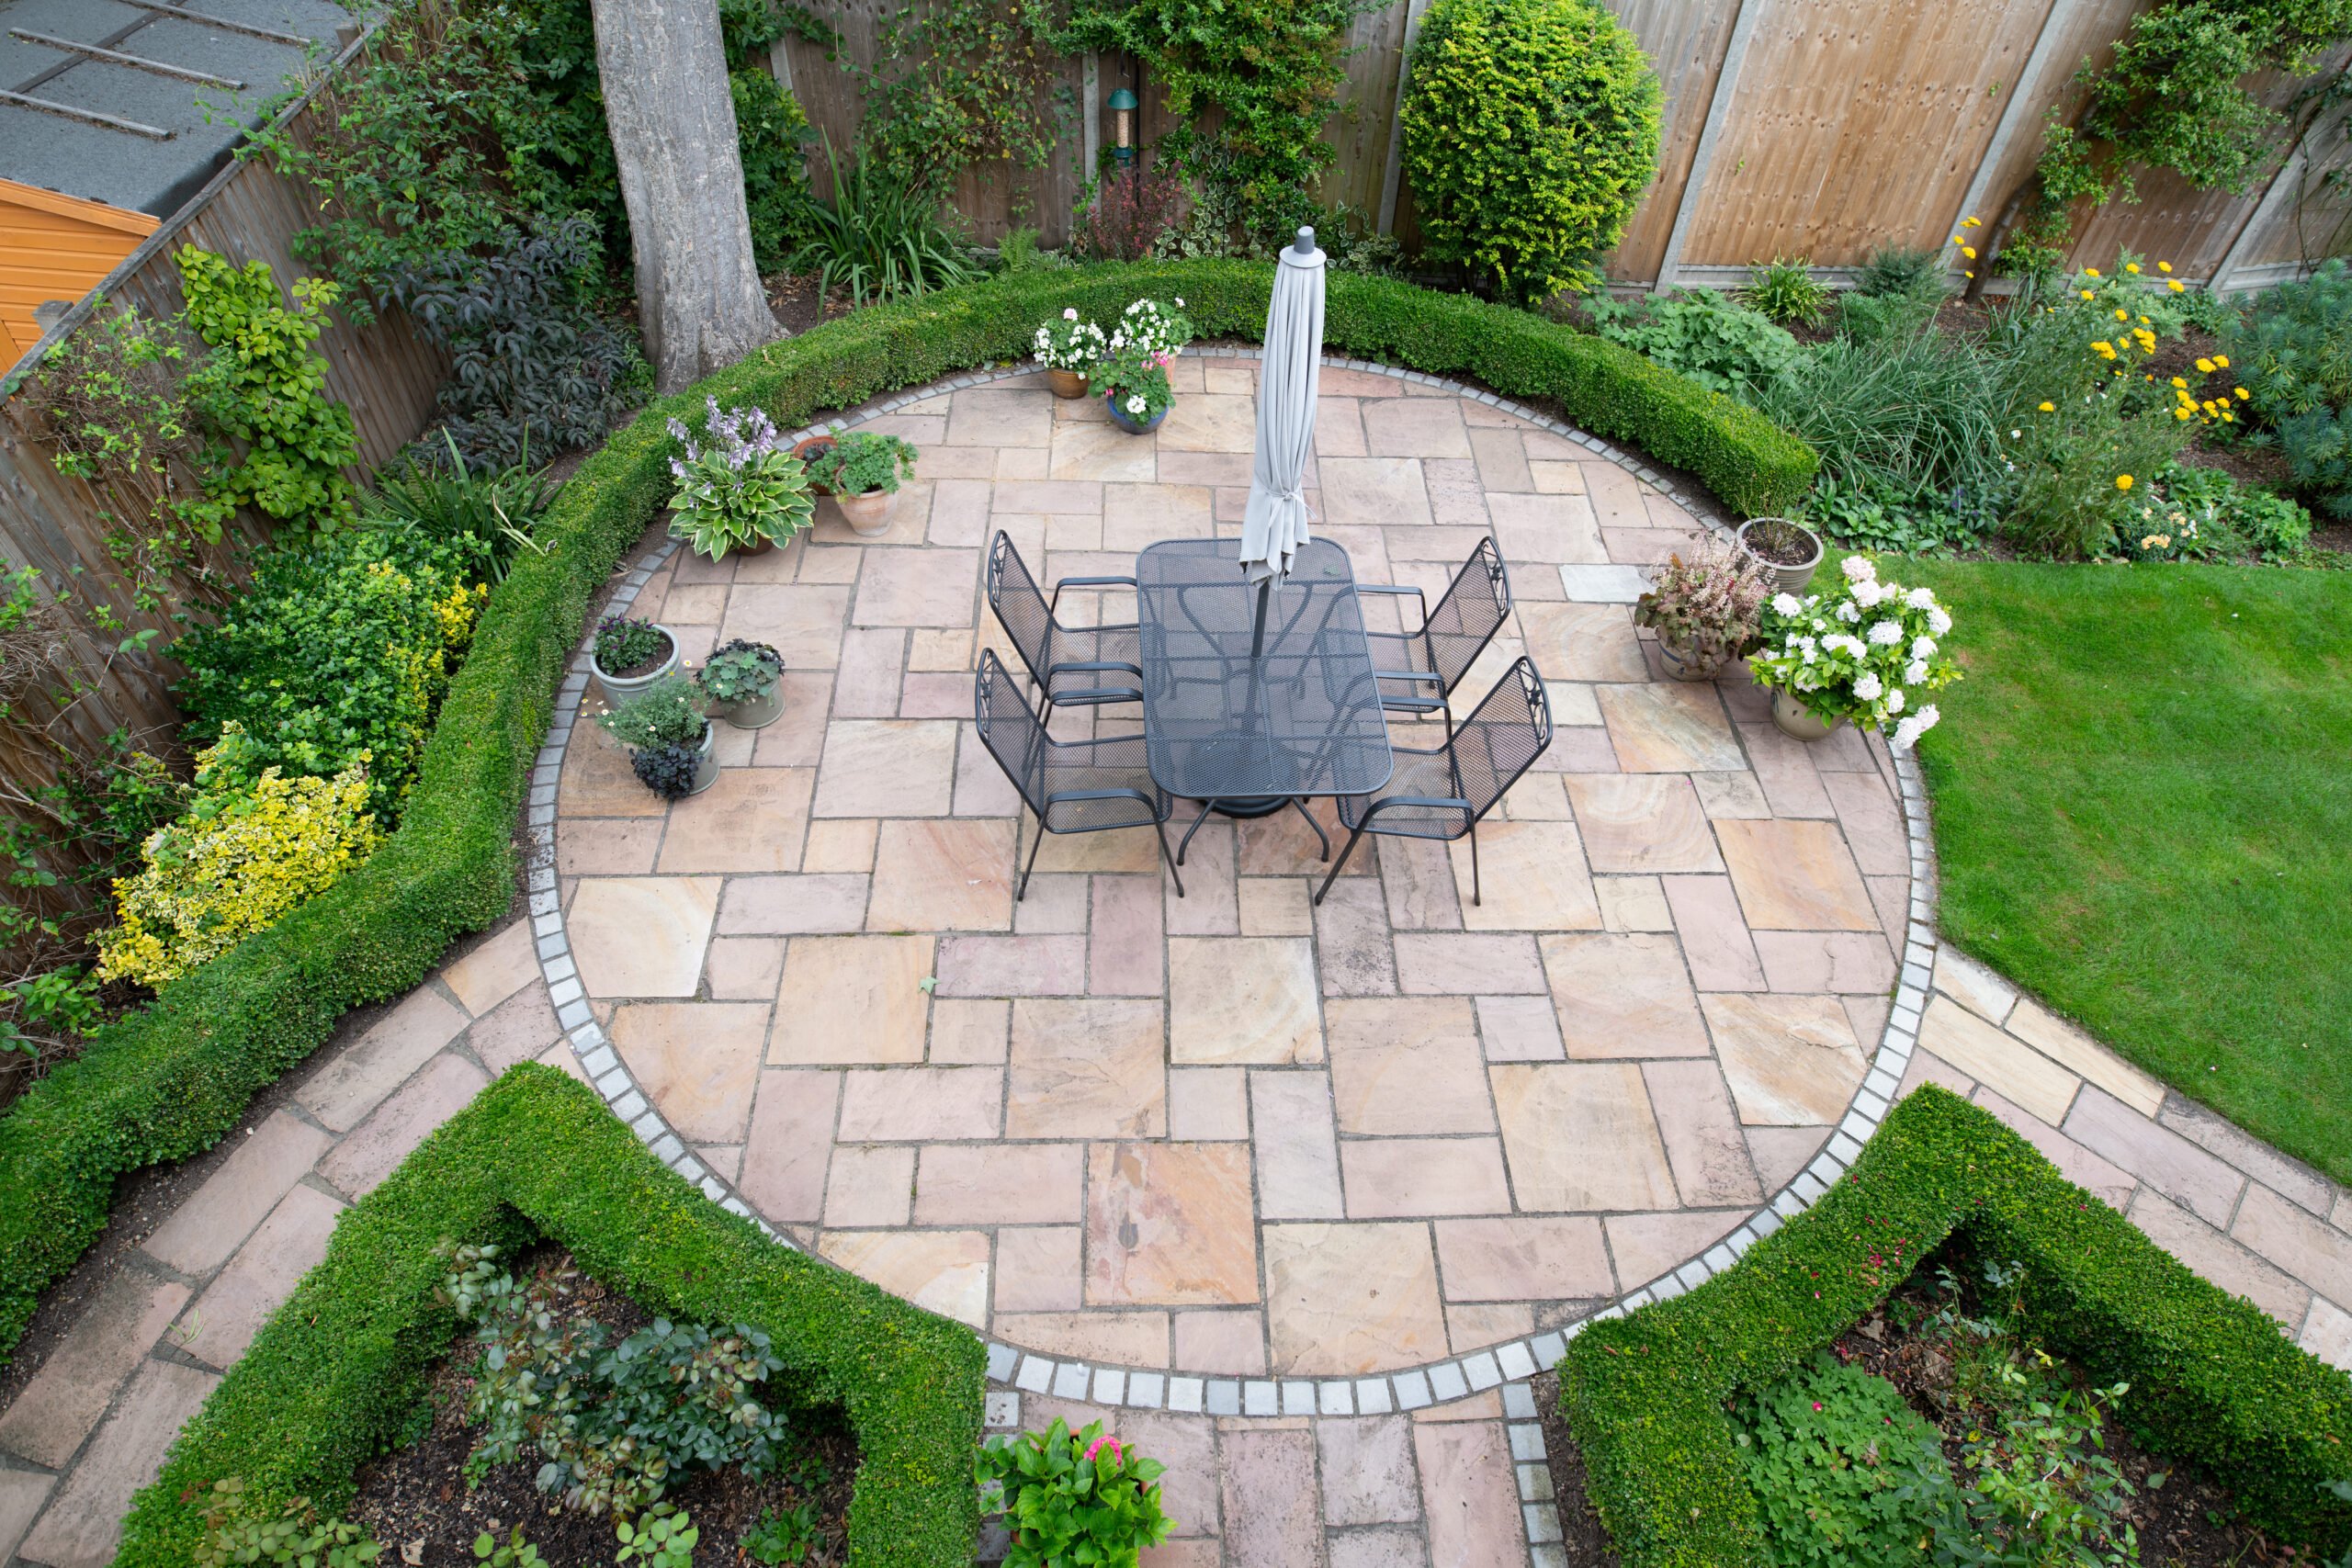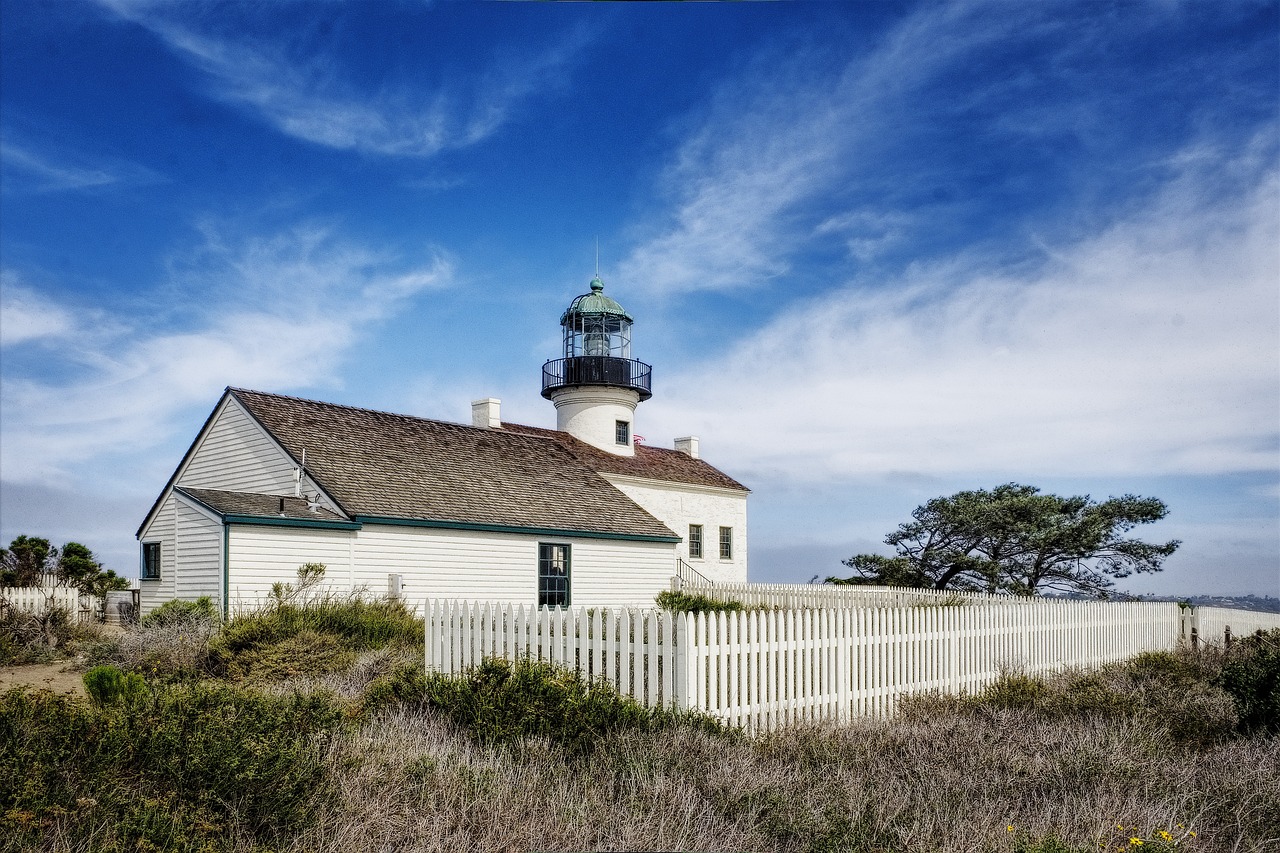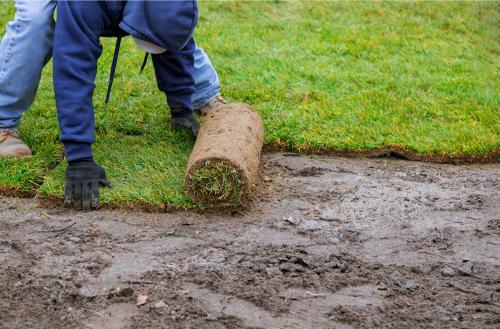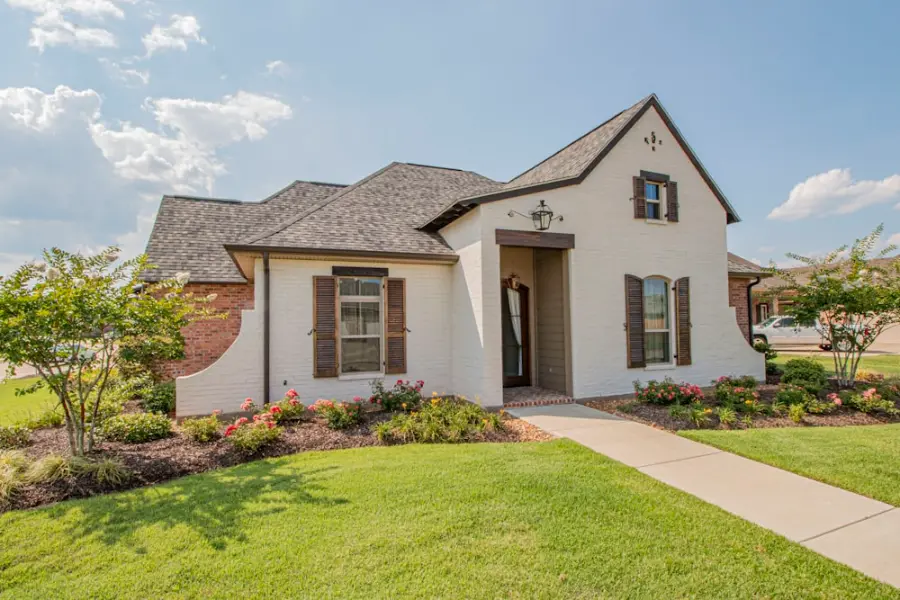


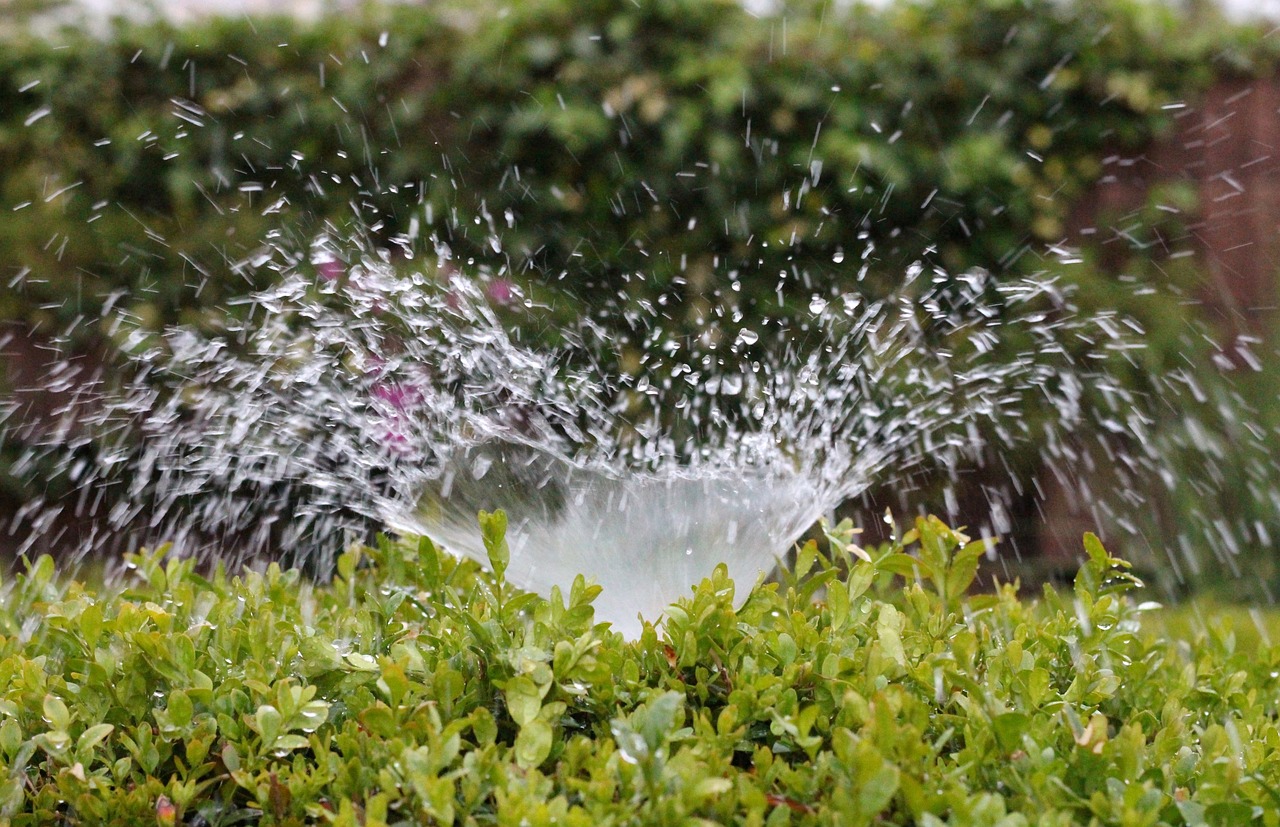
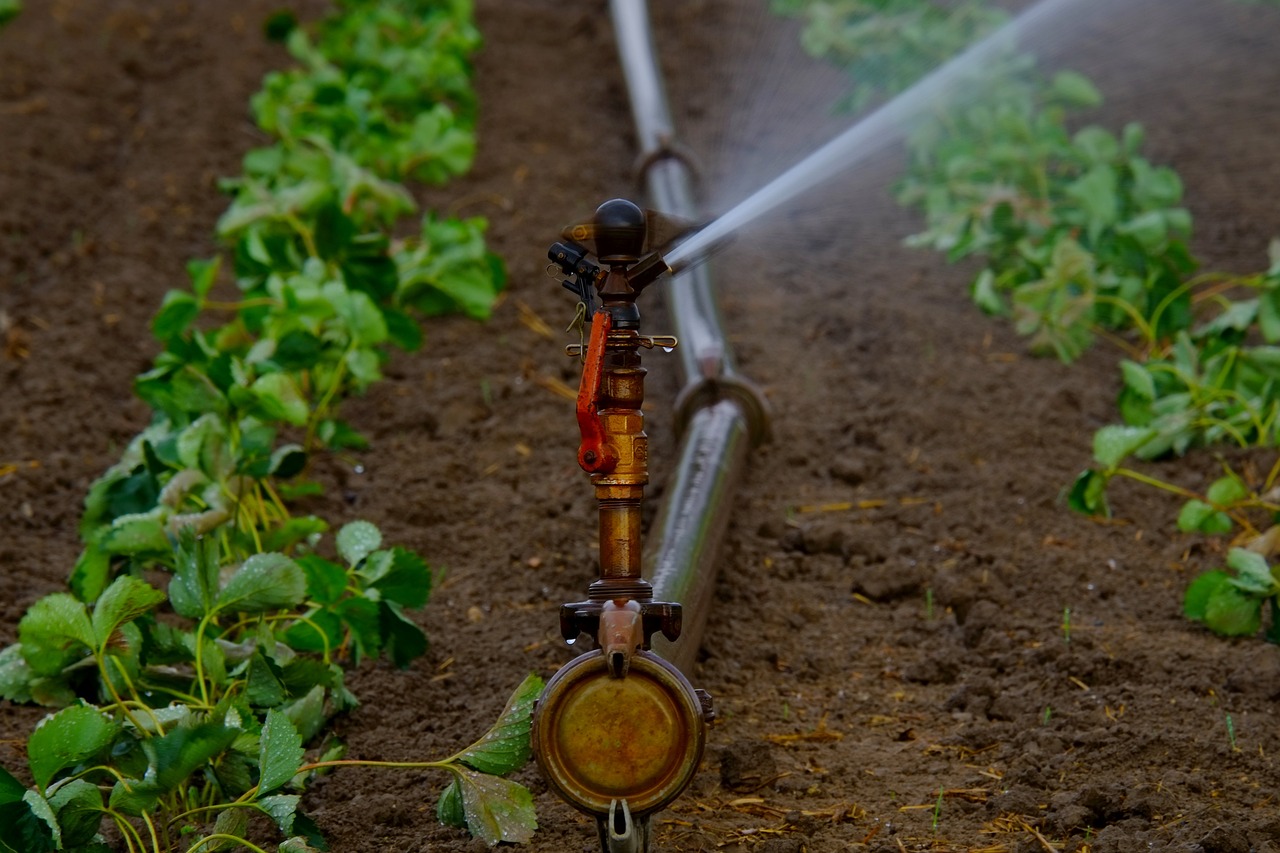
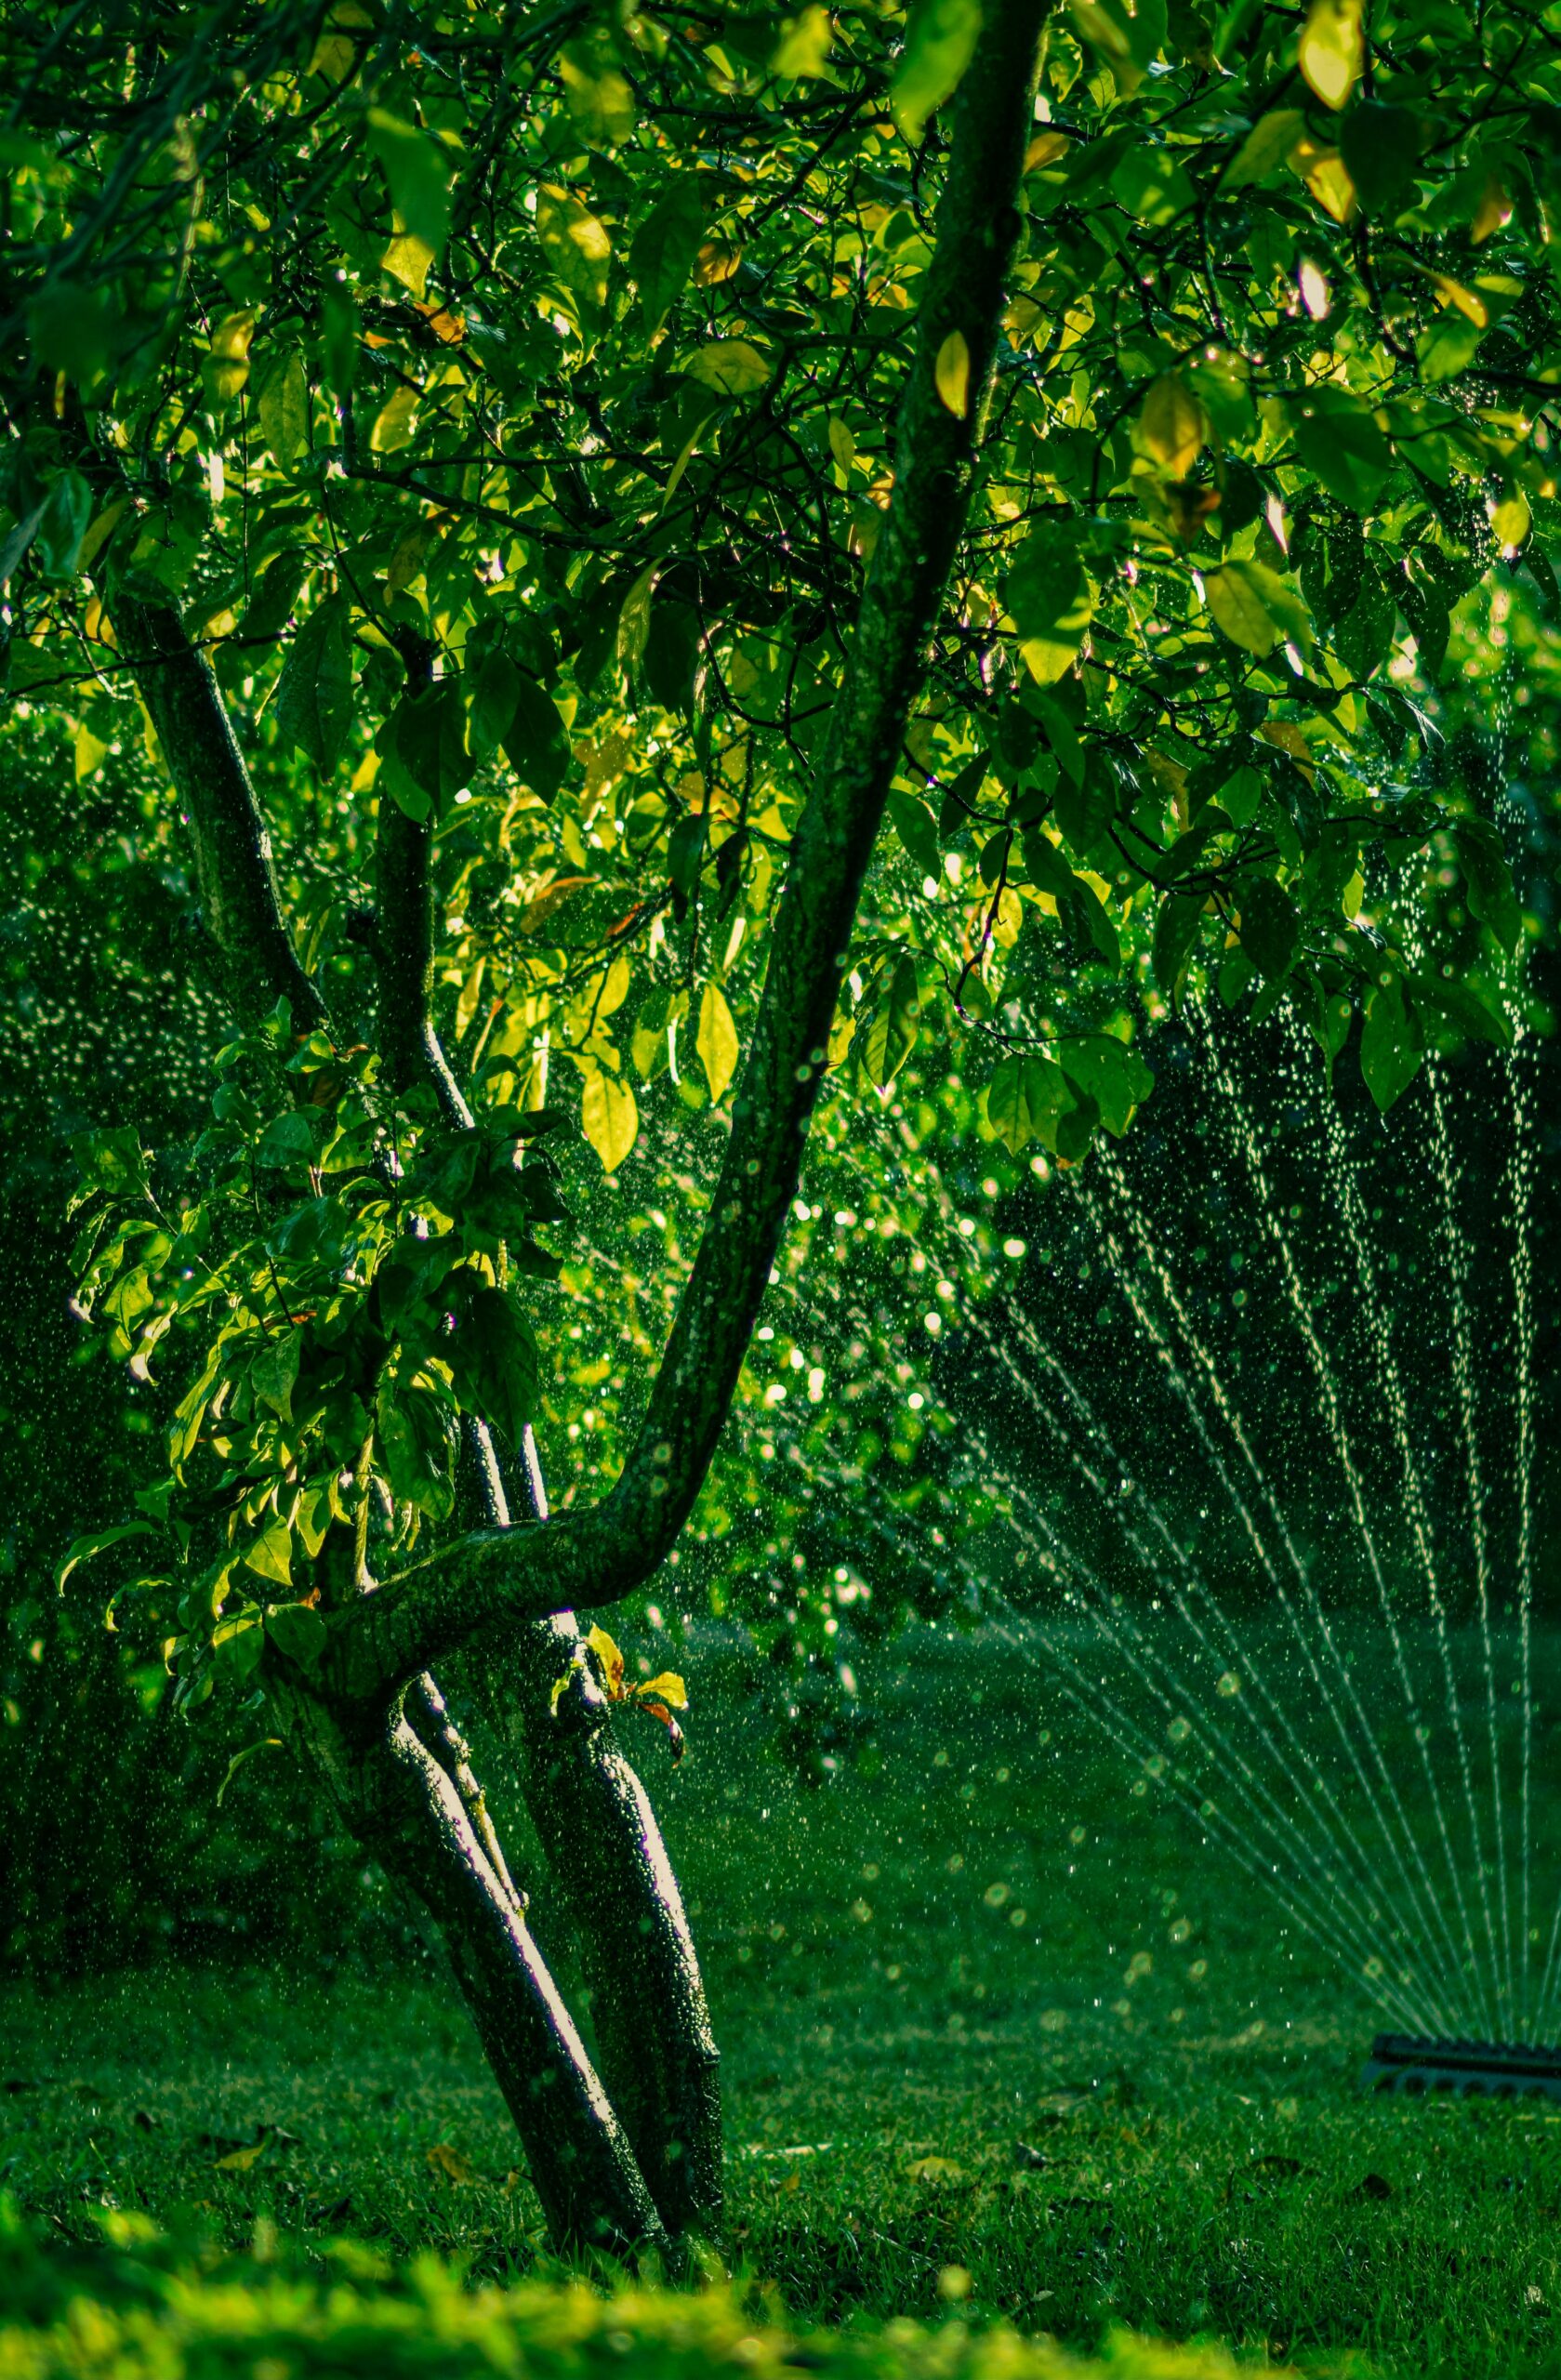
We all love to own a beautiful backyard patio and a lush green lawn… They provide serenity to our eyes and make our house look beautiful.
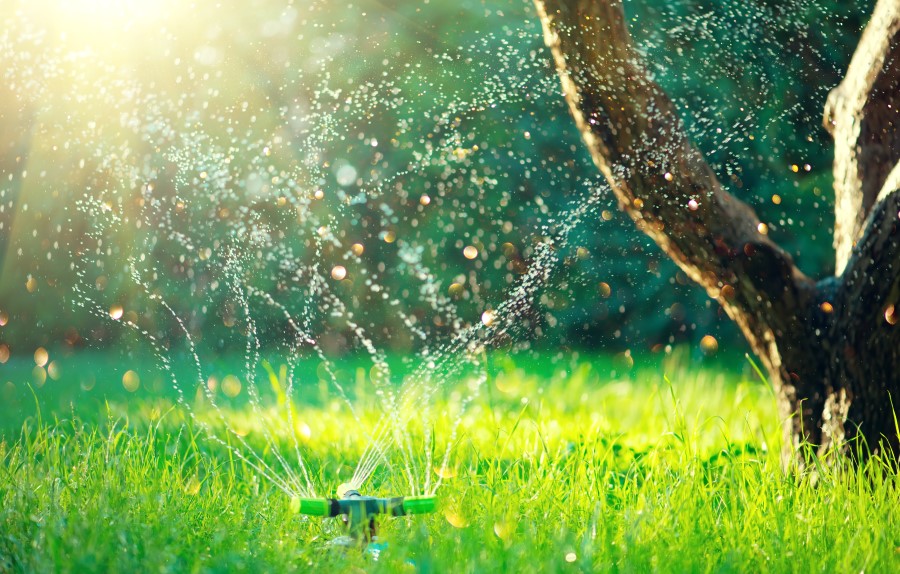
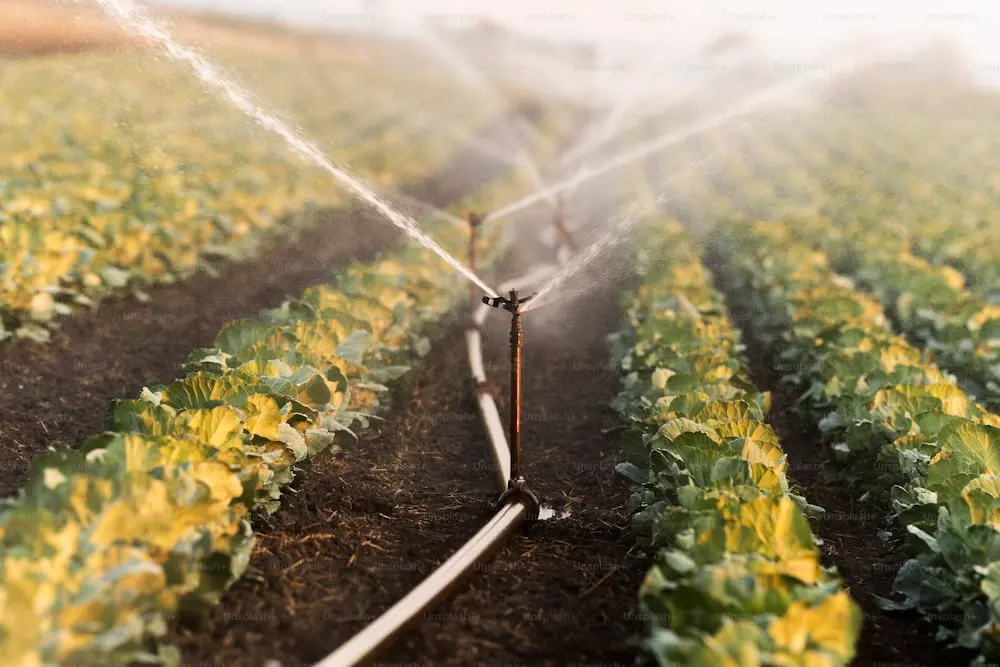
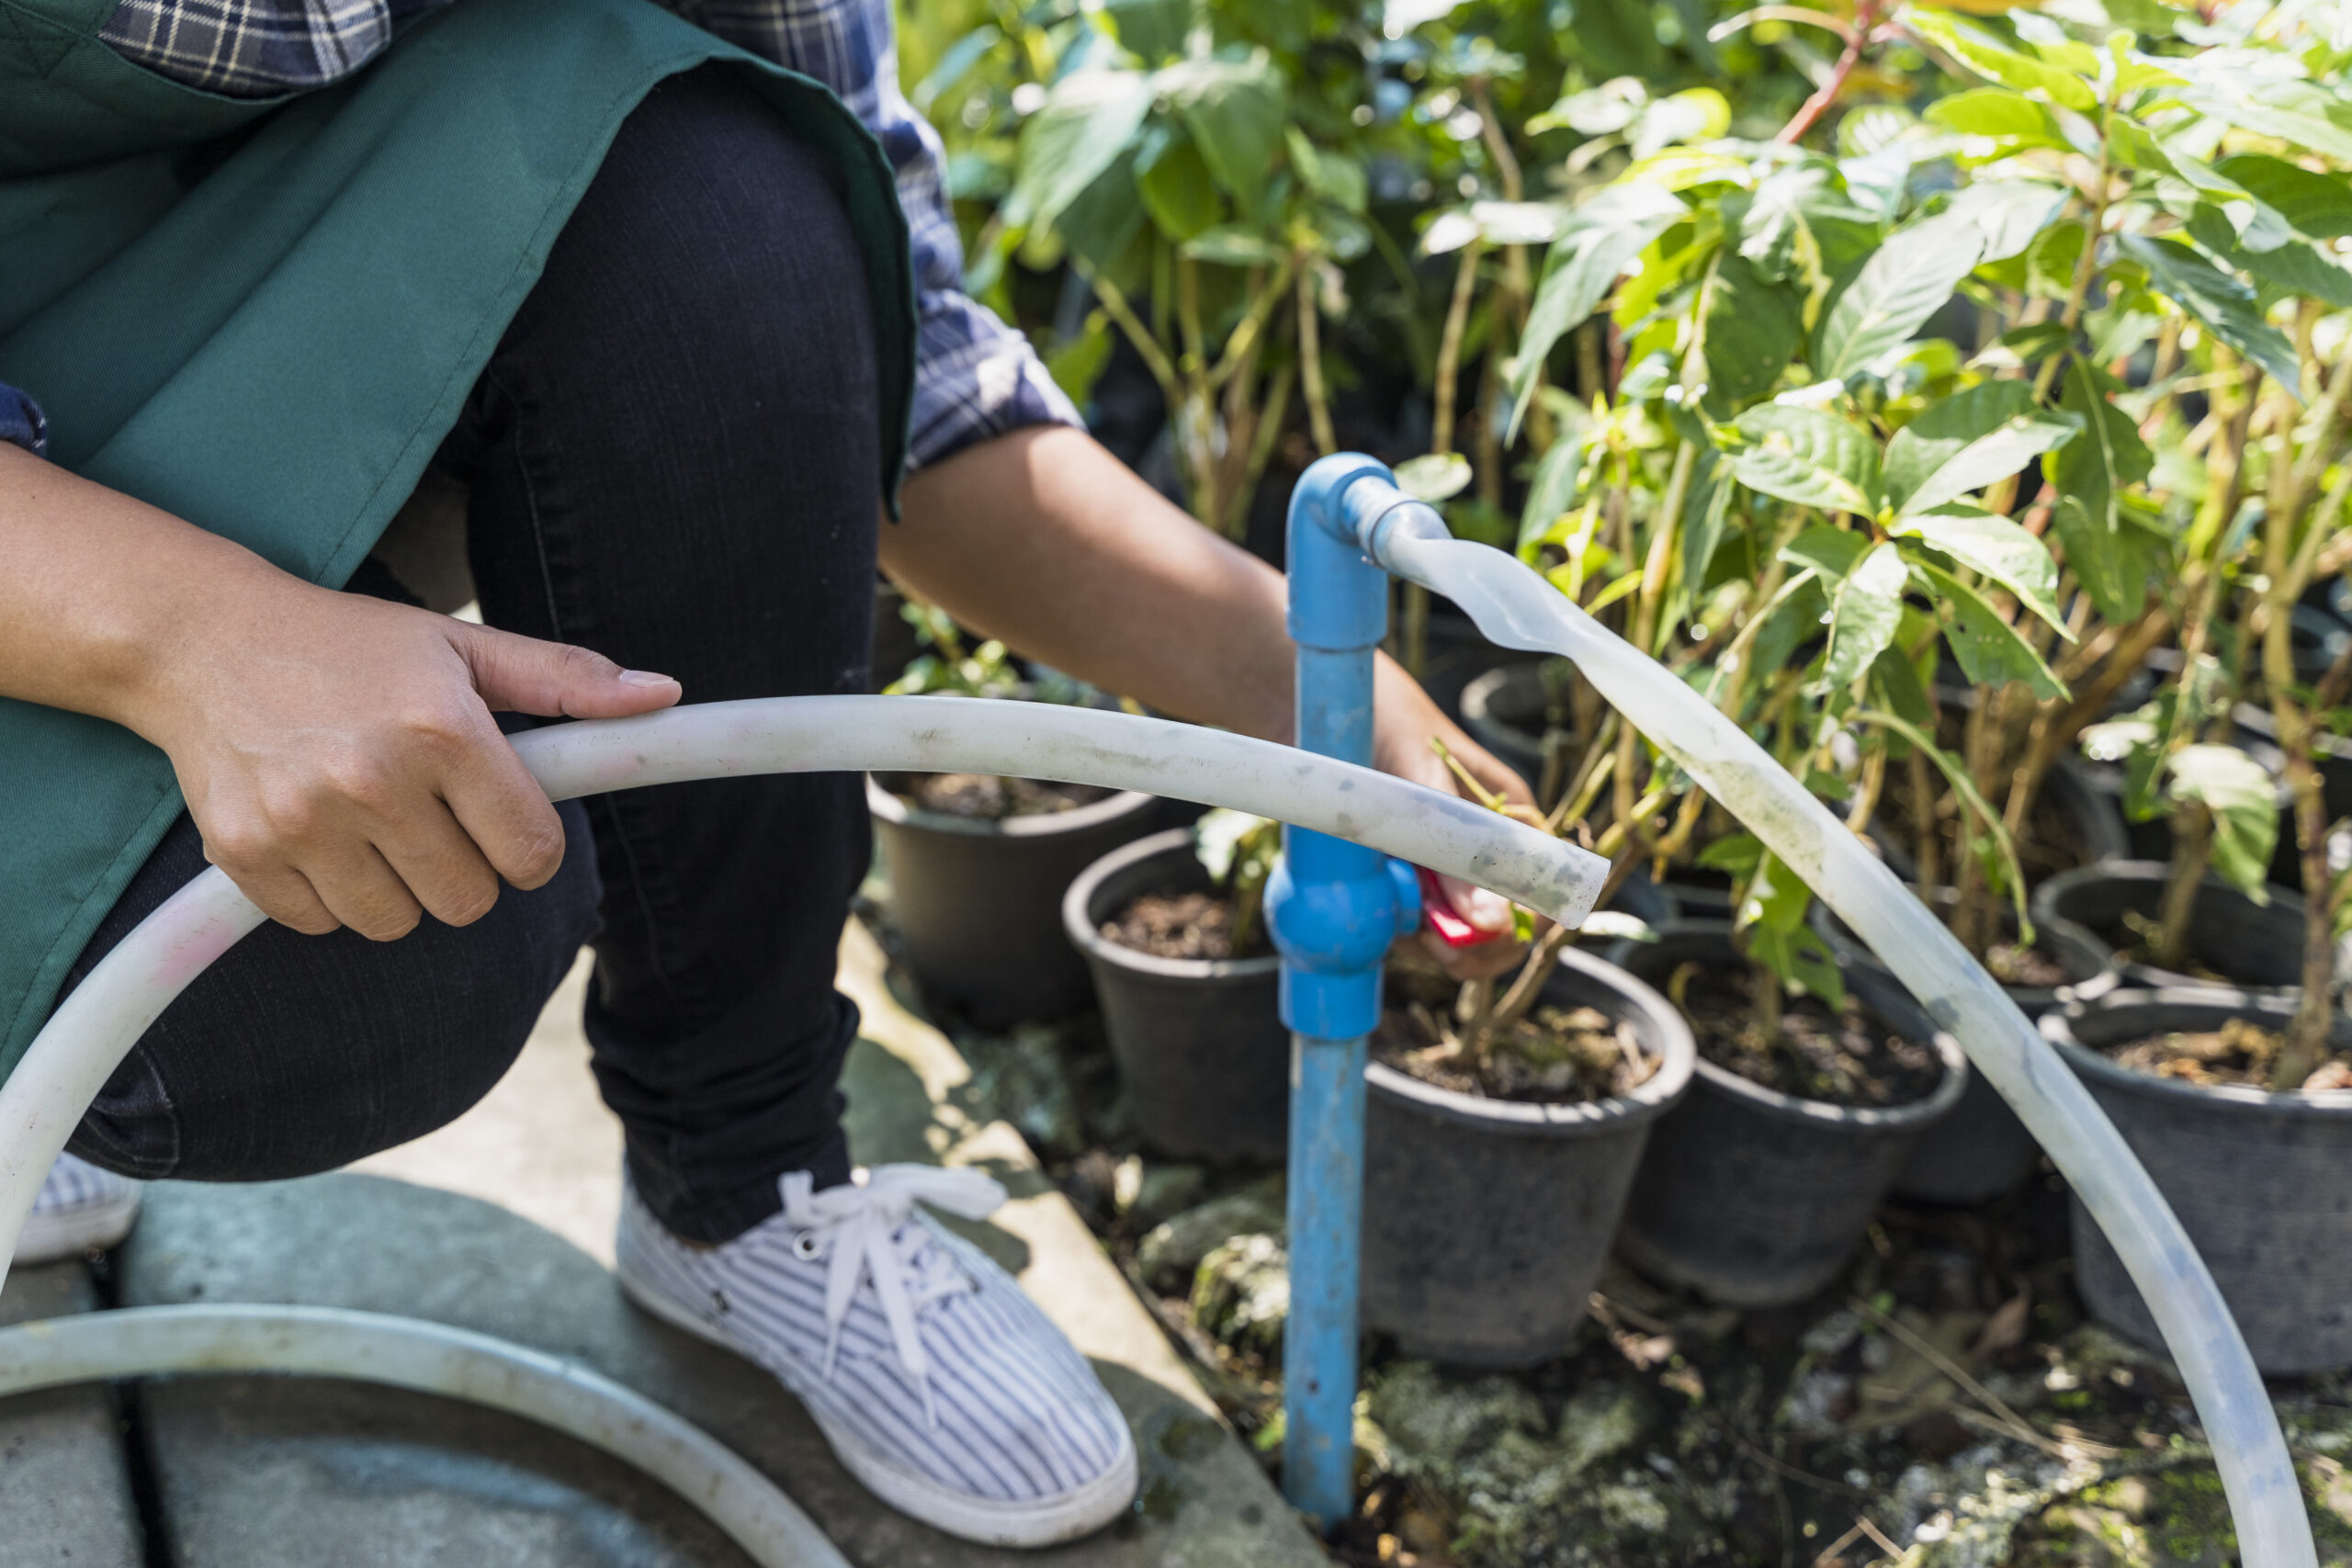
Well, there is no doubt that watering plants daily with a manual sprinkler system is not a piece of cake. You have to pull the hose from point A to B to provide water to your lawn, and you are still not sure if it completely moisturizes your grassy lawn.
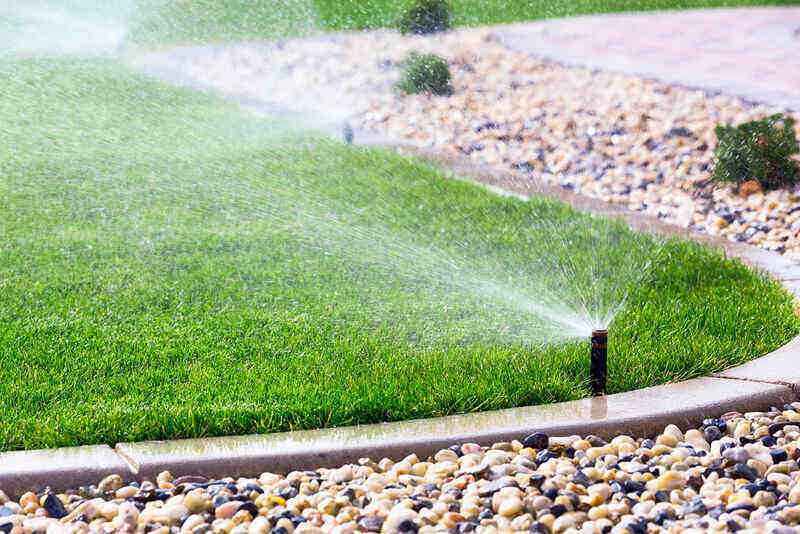
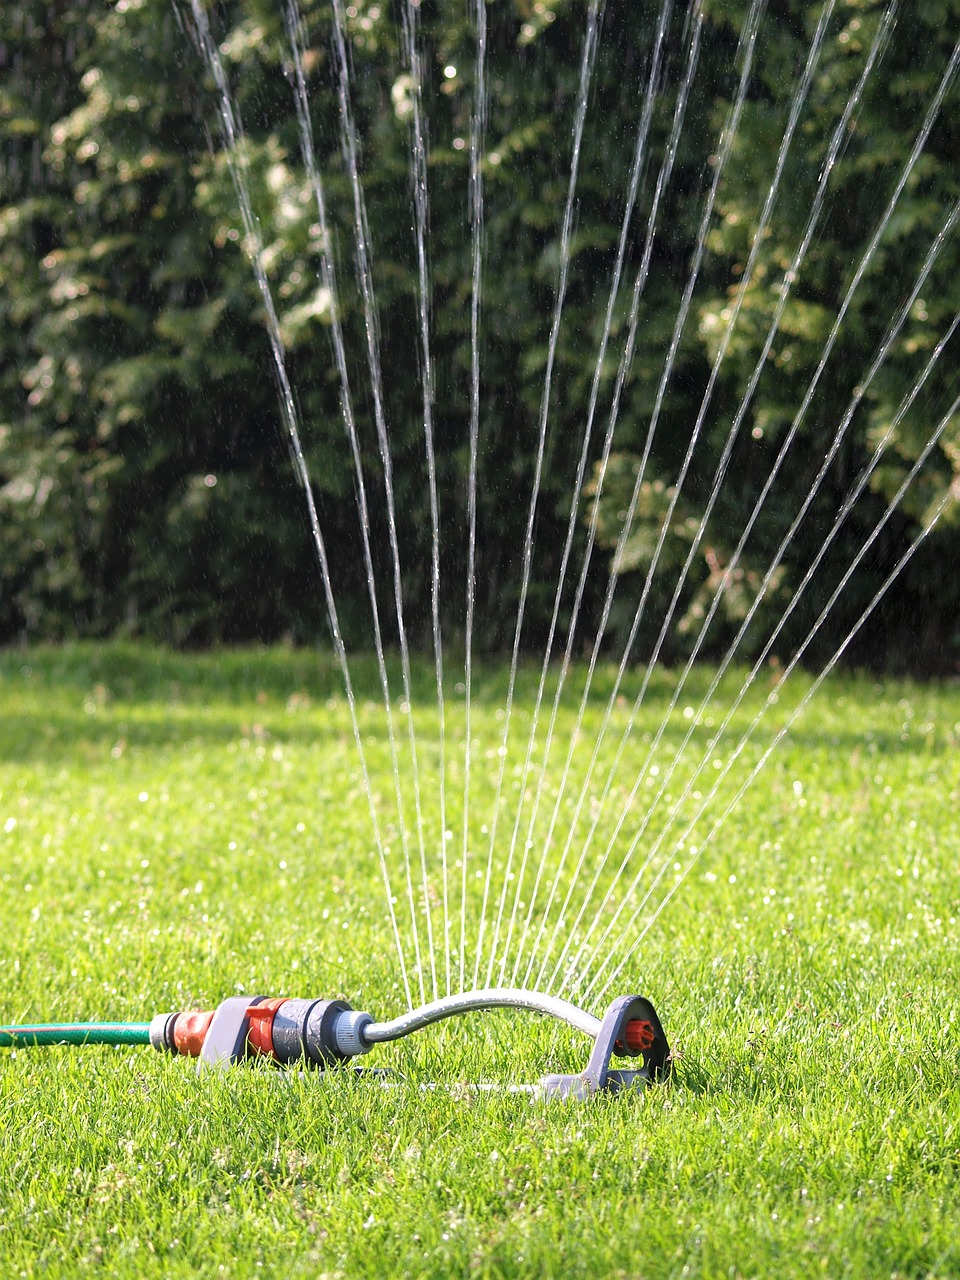
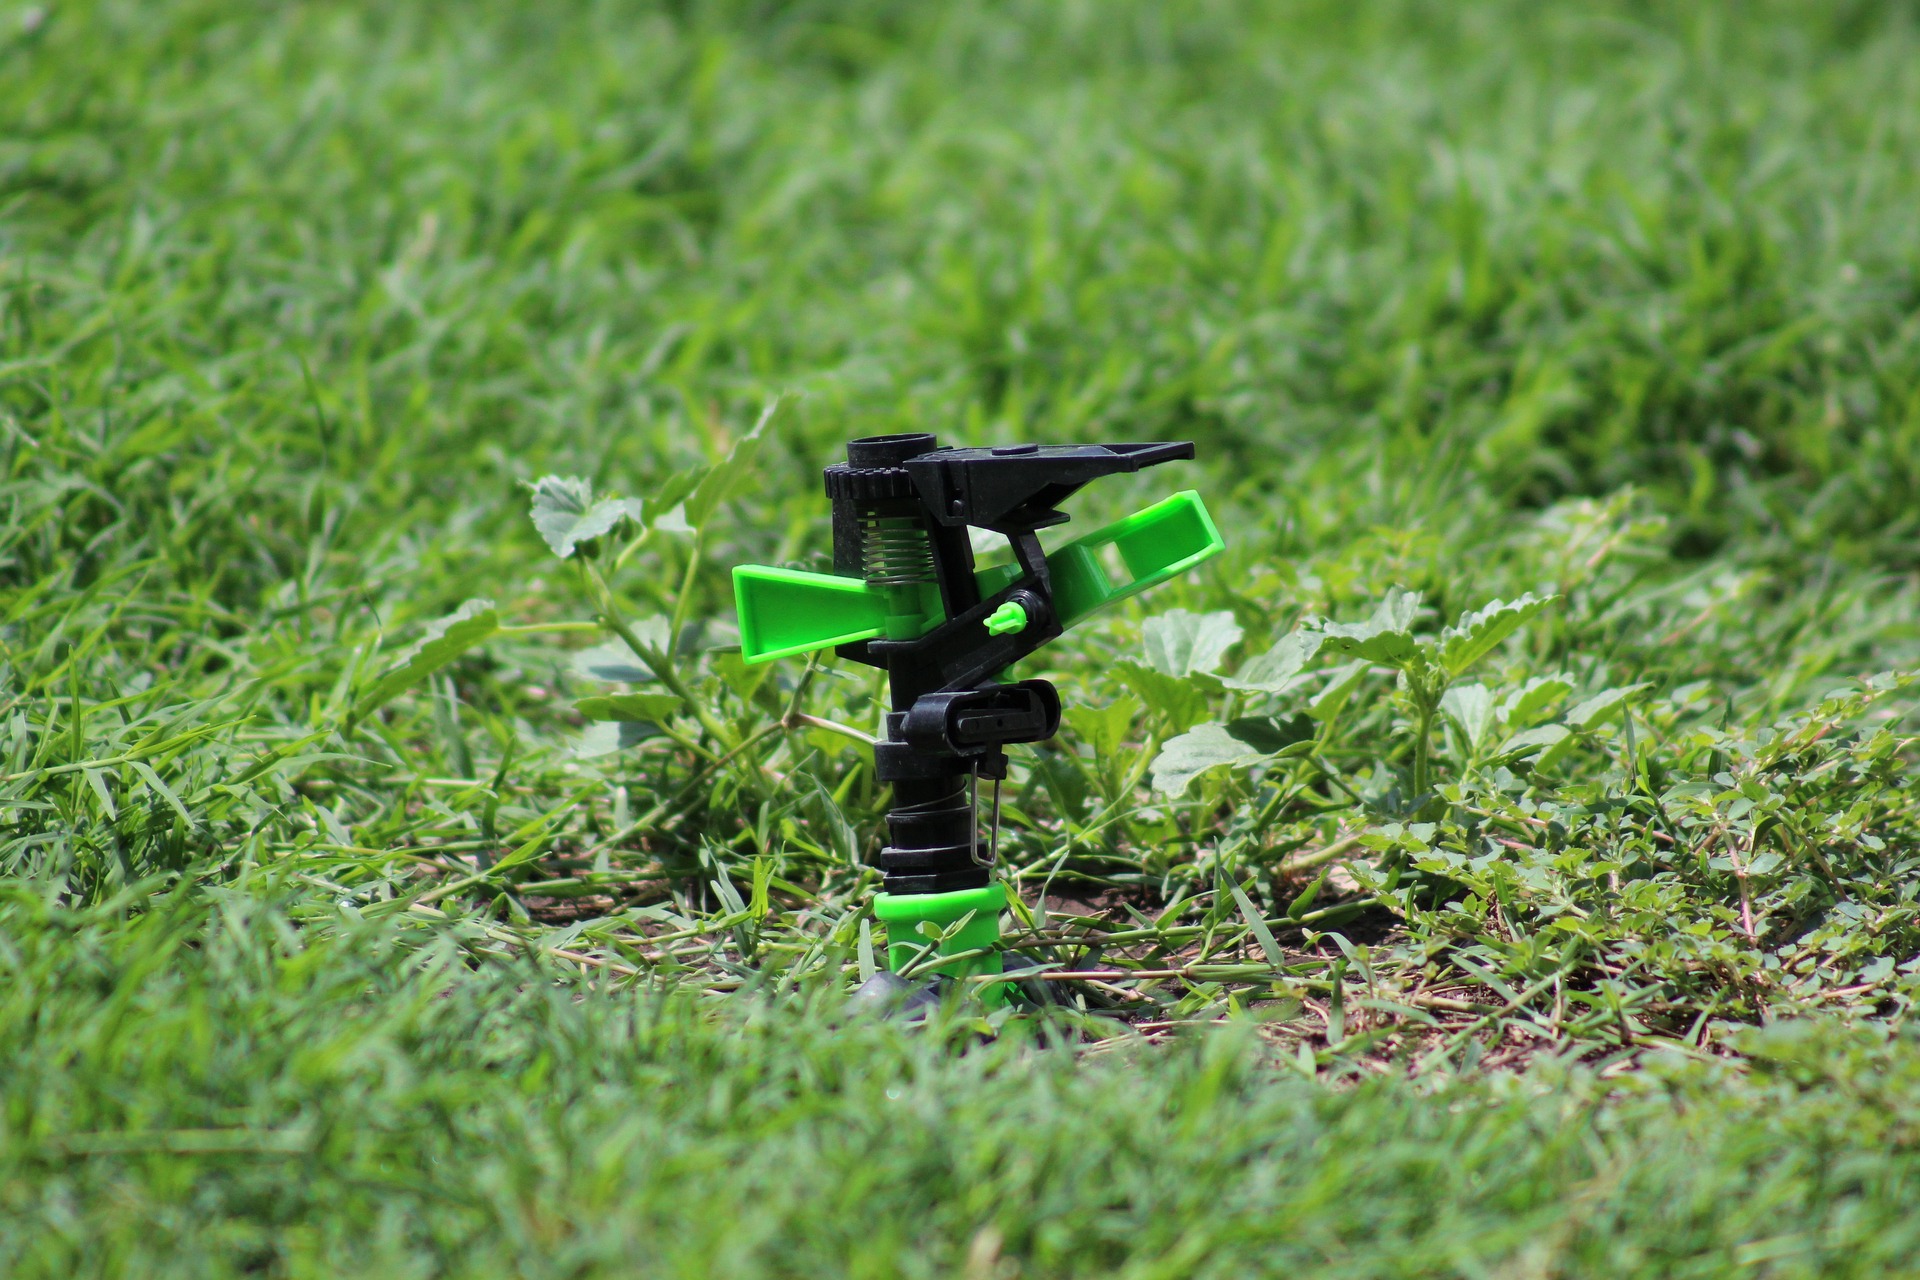
So what’s the solution? It needs a perfectly installed sprinkler system that can water your lawns daily.
When you Install a sprinkler system, it will save you from most hassles, as you dont have to water yourself. You also get saved from water loss because sprinkler systems manage automatic water flow.
You know how to install a sprinkler system for this purpose. Although it may seem daunting at first, with careful planning and the right tools, you can do it yourself.
How can you do it?
Welcome to our article, a step-by-step guide on how to install a sprinkler system/
Warning: It could cost you bundles of time to learn first and then install if you are not a professional plumber. There is a chance of leakage, which generally makes you lose money. So, you should hire professionals in Landscaping who can do this job professionally.
Step-By-Step Guide On How To Install A Sprinkler System
The important thing is that you need a proper plan to install an in-ground sprinkler system for your lawn, patio, or front yard. The plan will vary depending on your lawn’s directions, so you must adapt it yourself.
Step 1: Planning and Design
Find the Water Source: The first thing you need to do is find the water source for this sprinkler from where the water supply will be flushed. You can find it in your basement or underground water meter.
Design a schematic diagram: Now, measure the distance of your yard and create a scaled map. The schematic diagram will give you an estimate of how many sprinklers you need to set out to cover the surrounding areas.
You must carefully note the dimensions and mark out existing structures like driveways, patios, and gardens. Make sure you note down places in your scheme that must be rinsed and group plants with similar watering requirements together.
Why would it needed?
This will help you plan the routing of pipelines that can cover your whole lawn.
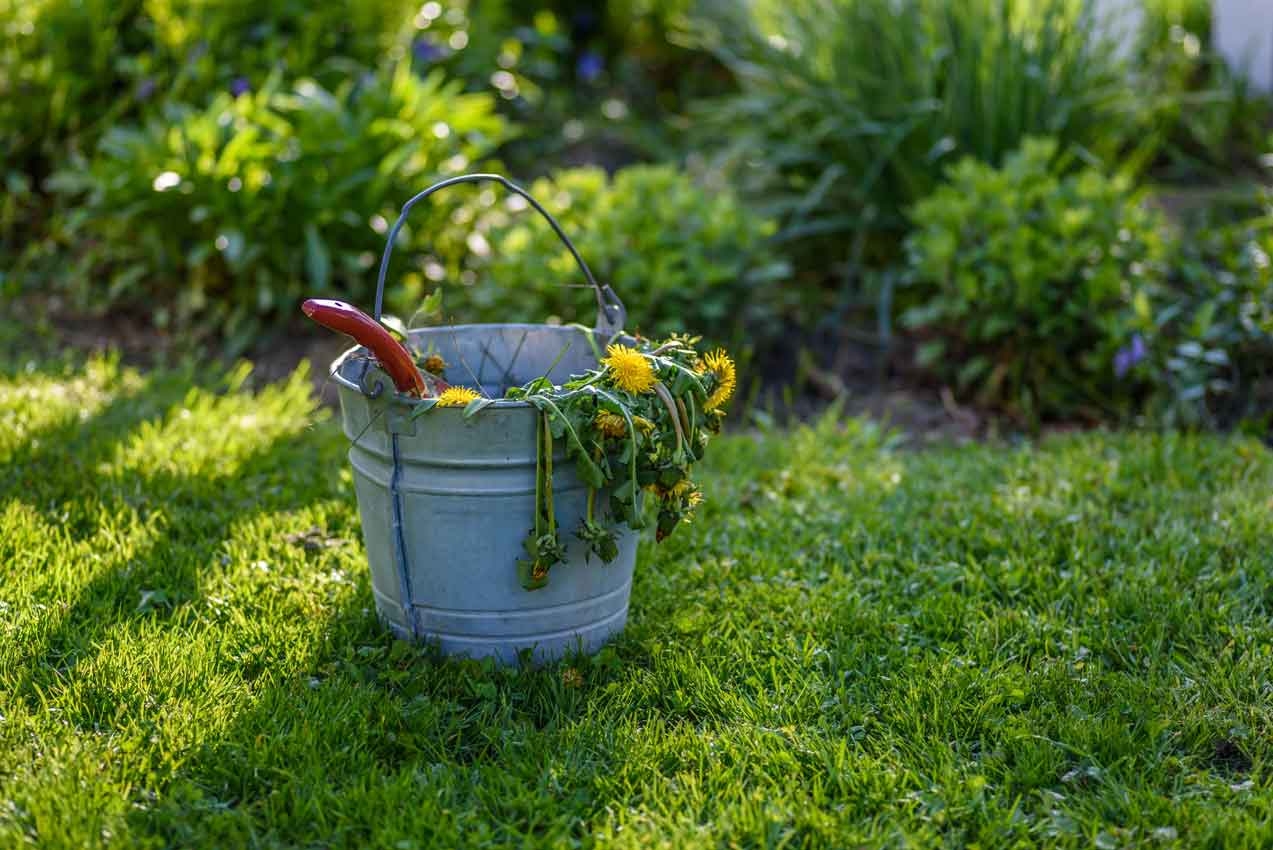
Determine Water Pressure and Flow Rate: We have reached the next step, which is checking your home’s water pressure and flow rate.
For this purpose, you need a pressure gauge and a bucket. This ideal water pressure is between 40 and 60 psi. This flow rate will help you determine how many sprinkler heads you need to water your lawn completely.
Design the Layout: As we need a well-designed architectural design for house construction, you need to plan the layout of your sprinkler system. Divide your yard into zones to ensure even water coverage. Valves will control these zones.
Keep in mind that you need different sprinkler heads for larger coverage areas, as well as drip lines for gardens and shrubs. You must include everything on the sketch, from shrubs to trees to flowers or any outline or boundary line.
Step 2. Gathering Materials and Tools
Have you completed the above-mentioned steps? Finally, we are on to the second major step, which is purchasing and collecting all instruments.
- Sprinkler heads
- PVC or polyethylene pipes
- Pipe fittings (elbows, tees, couplings)
- Valve manifold
- Backflow preventer
- Controller (timer)
- Shovel and trenching tool
- Pipe cutter
- Teflon tape
- Wire connectors
- Stakes and string

Step 3. Installing the Sprinkler System
Mark the Locations: Now, take the map you have designed in your hand and use stakes and string to outline the locations of trenches and sprinkler heads.
After outlining locations, connect them with a thread to mark the places where all PVC pipes will be installed. This will serve as a location where trenches can be dug.
Dig Trenches: Wherever you have marked lines, dig trenches there. If the trench is to be dug at a depth of 6 to 12 inches, there should be a width of 4 inches. This is especially important in colder climates where pipes are more likely to freeze.
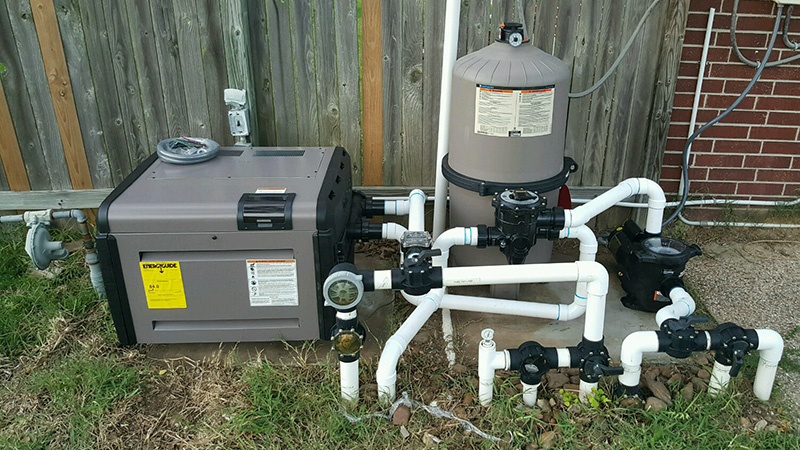
Mount the Valve Manifold: The valve manifold determines the water direction to multiple zones. Place it near your home’s main water supply.
Take a backflow preventer and connect the manifold to the water supply line. The backflow preventer will prevent contaminated water from flowing into your home’s water supply.
Lay the Pipes: Dye the mainline pipe from the valve manifold to the first zone in the soil. With the main line, you can bind all the other PVC pipes using adhesive and primer to set up a sprinkler system.
Make sure you utilize appropriate fittings to connect the pipes, making a tight and leak-free connection. Try using Teflon tape on threaded connections when installing pipes, as it is a way to keep the joints from leaking.
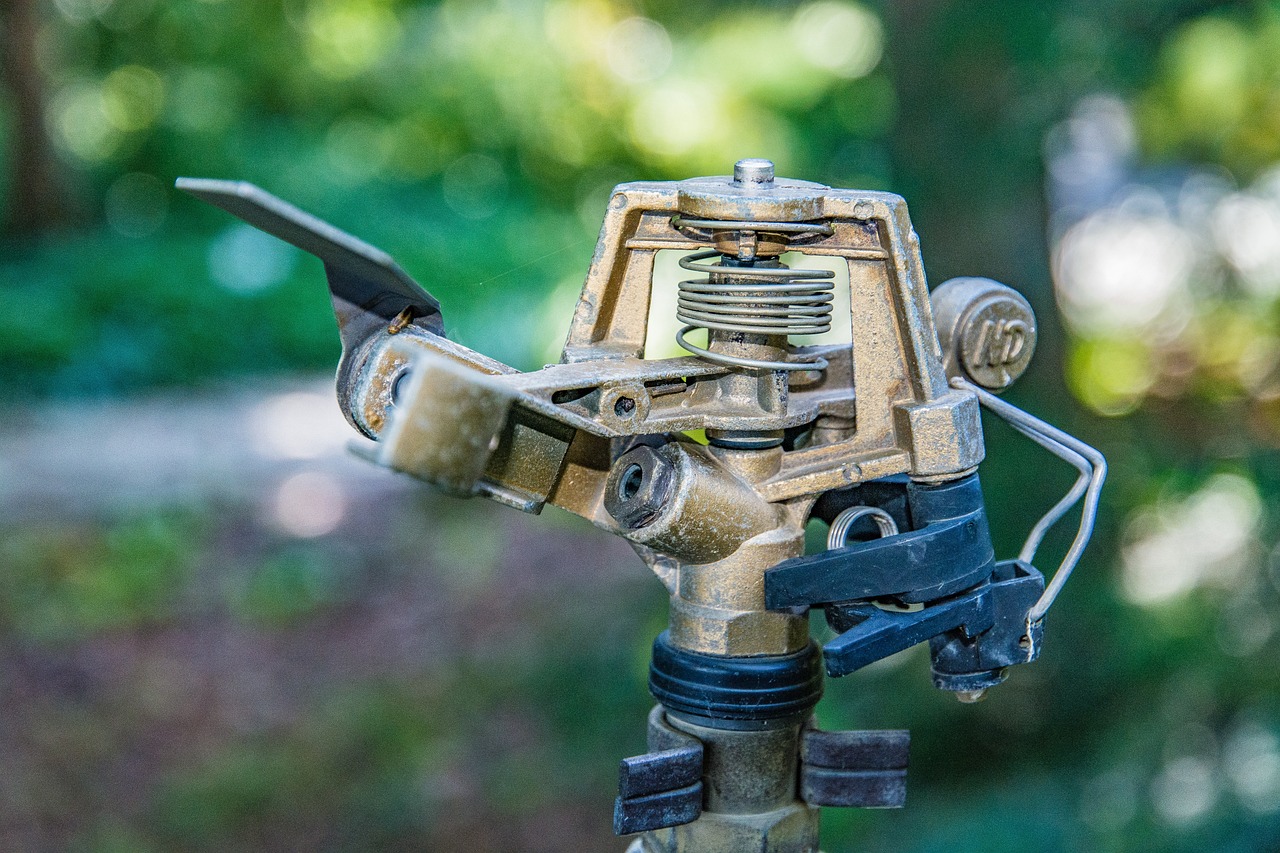
Step 4: Fixing the Sprinkler Heads:
Attach risers to the pipes; install sprinkler heads at marked locations, making sure they are at the right height and deviation angle to achieve maximum coverage. Each sprinkler should be 15cm deep. Use a level to ensure they are straight.
Step 5: Connect Valves to the Controller
Now attach the main water source. You must shut off that main water source now so as not to waste any more. Run wires from each valve back to the controller (timer). The controller is a device that lets you set the time of day each zone will water.
At this step, you should contact the plumber and follow his instructions on how to wire the valves to the controller. This is an absolutely dangerous step, far from harmless, and may cause damage. Use waterproof wire connectors to protect the connections from dampness.
Step 6: Install the Backflow Preventer
Install a backflow preventer close to the incoming main water supply. This will guarantee that polluted water will not flow backward into your home’s drinking water. Most local building codes now require this important safety device.
The timer unit is also mounted next to the wall of the primary power supply. Plug its number of terminals with wires coming from the sprinkler system. Now, test each sprinkler zone manually by switching on the timer unit. Make sure it is working perfectly.
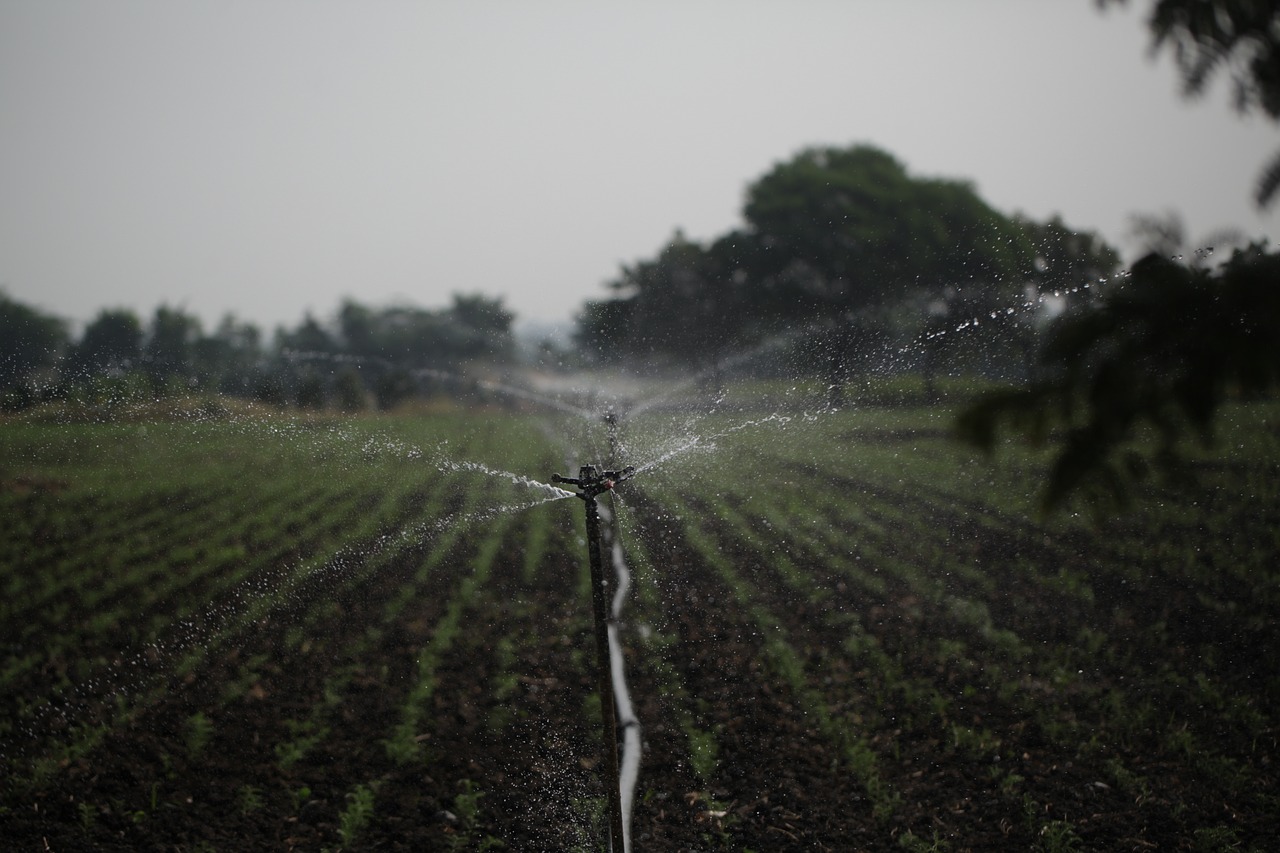
Step 7: Test the System :
Now, turn on the water and check each zone for leaks. Check each sprinkler head to ensure it covers its area and does not overspray onto driveways or sidewalks. Adjust sprinkler heads if necessary for proper coverage.
Step 8. Backfill the Trenches
Once you’re convinced that it works, carefully fill the trenches with soil. Be gentle, as pipes might be damaged. Compact the soil to avoid air pockets, but do not compact it too much, as this will restrict the flow of water.
Step 9. Programming of the Controller
Program the controller’s irrigation schedule, taking into account your lawn’s requirements and local watering restrictions. Usually, watering early in the morning causes the least amount of evaporation and dries the grass before nightfall to avoid grass diseases.
You need to maintain this in-ground sprinkler regularly to gain longevity and functionality.
Maintenance Tips :
- Check the system for leaks, clogs, or busted sprinkler heads; note areas that require additional coverage and adjust accordingly.
- Adjust the watering schedule according to seasonal changes. During dry and hot months, you can increase the frequency of watering, while you can cut back during cool and wet months.
- In colder climates, the system must be winterized to prevent freezing. This normally includes draining the system and blowing out any residual water with an air compressor.
- Rinse the filters in the valves and sprinkler heads periodically to avoid congestion. This is especially a must if you have well water or a lot of clutter in your water supply.
Expert's Final Words
You may know how to install a sprinkler system, but it is difficult if you do it for the first time, as just a single carelessness can destroy all your planning. Even if you do it, it can be a temporary fitting, resulting in water leakage or other disturbances in the future. So, you must hire a landscaper for it.You must be looking for an expert now. You should consider Guerrerolandscaping for the efficient installation of sprinkler systems.
Why us?
10+ experience as a landscaper
13+ Years of experience
Efficiently completed 100+ projects
Want a better pricing quote? Contact us now.
FAQS
If you have some plumbing experience, you can install a sprinkler system. It can also be a budget-friendly deal, but sometimes, due to your lack of experience, you can't install the sprinkler perfectly, which can be a loss of money and time.
It depends on where the sprinkler system is leaking. Sometimes the screws on the valve cover might be loose. Tighten them to see if the leak stops. If tightening doesn’t work, you may need to replace the diaphragm or solenoid in the valve.
In another case, Dig carefully around the wet area to find the source of the leak. Use a pipe cutter to remove the damaged section of the pipe. Replace it with a new piece of pipe and secure it with appropriate fittings and solvent cement for PVC pipes.
To connect the sprinkler to PVC pipe,
- Dry-fit the PVC pipes and fittings to ensure they fit correctly.
- Apply PVC primer to the outside of the pipe end and the inside of the fitting.
- Apply PVC cement to the primed areas and quickly twist the pipe into the fitting to ensure a secure bond.
- Hold the connection together for a few seconds until it sets. Attach a riser or swing joint to the PVC pipe where each sprinkler head will be placed.
- This allows for easy adjustment of the sprinkler head height and angle.
The most commonly used pipe sizes for sprinkler systems are one-quarter-inch, half-inch, and two-inch PVC Pipes. However, the size of the PVC pipe typically depends on the water flow requirements and the size of your irrigation system.