

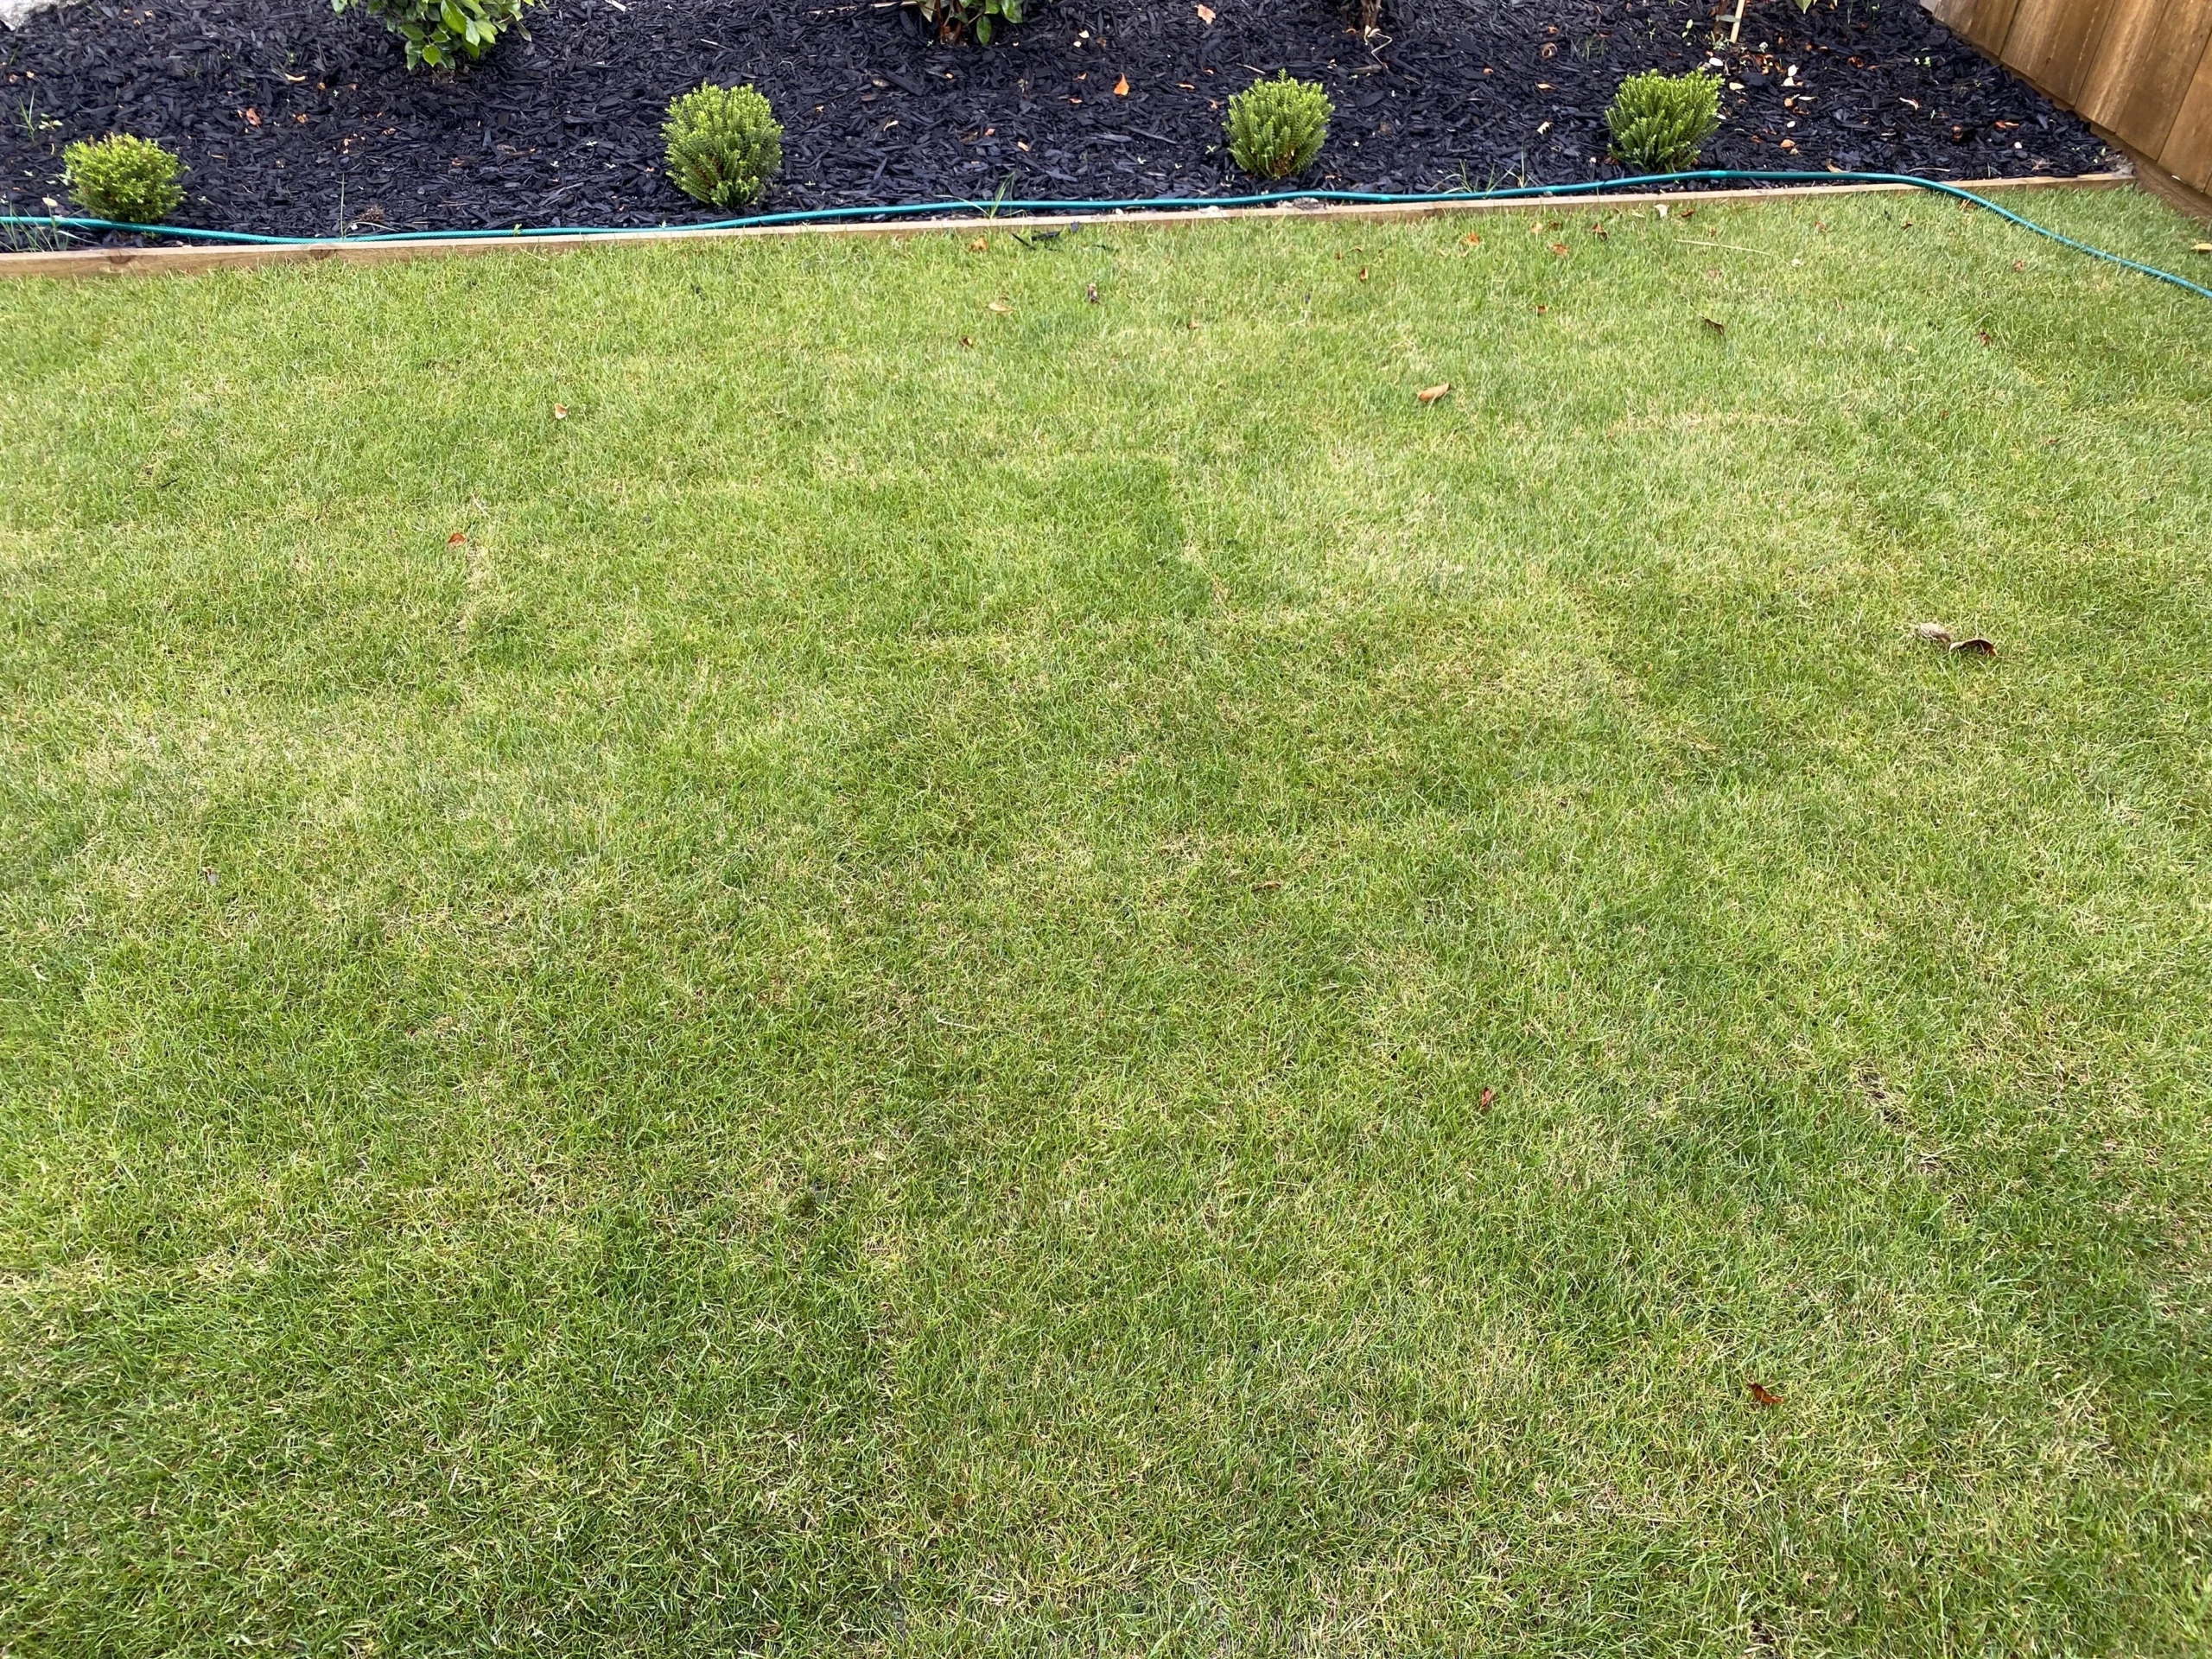
Every lawn owner dreams of having a lush green yard that soothes his mind and soul. Turning this dream into reality is not a big deal. Sod installation, if done right, gives you a smooth, quick grass for your landscapes.
However, it is not about just laying sod on the ground and hoping for the best outcomes. A proper sod installation process involves choosing the right type of grass, soil preparation, and care. A bad sod results in bare spots and brown patches all over the grass, destroying the natural appeal of the garden.
Just as there are techniques to maintain a healthy sod, there are several steps to avoid if you want to end up with a healthy, fresh lawn. In this article, we have gathered 11 sod installation mistakes that most beginners and lawn owners make when laying new sod in their homes.
Is It Necessary to Roll Sod After Installation?
Many companies consider rolling an optional measure. However, it is one of the few early measures that you need to take care of during the sod installation process.
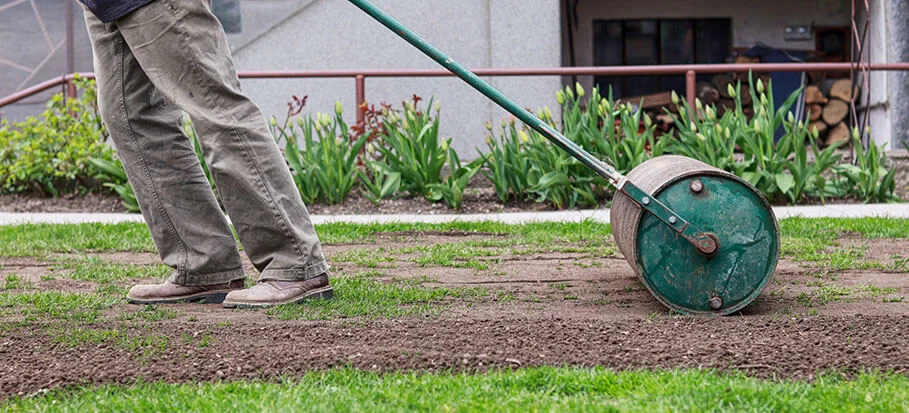
Slowly and carefully roll each area just once. This will eliminate gaps or loose soil and help prevent air pockets so that the roots reach the soil and develop a strong bond quickly.
Rolling flattens out lumps, smoothes joints, and helps grass bound tightly to the soil. If you don’t have access to the roller, try walking on the sod while watering it and gently pressing the surface with your feet.
Buying a grass roller is a cheaper choice as compared to the sod replacement due to bond failure between soil. A 45 kg roller will do the best job. But, avoid excessive rolling as it can lead to dead patches.
Avoid These Mistakes When You Lay Sod
Grass installation gives you a hassle-free lawn, without worrying about growing the seeds, in a shorter period. However, some people make mistakes during sod installation that cost them in the long run. If you intend to hire a professional or carry a DIY sod installation, here are the mistakes you must avoid.

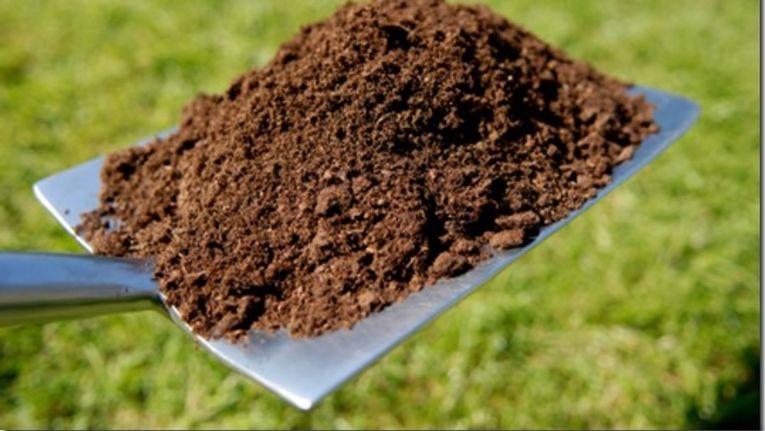
1. Inadequate Soil Preparation
Preparations for sod installation begin long ago before you lay the first piece on the ground. The target area must be cleared, enriched, and leveled for smooth installation. This involves removing current grass, plants, and weeds to get a clear, root-free ground.
Then test the soil with a test kit to achieve the ideal soil chemistry. For this purpose, you can:
- Mix nutrients into the existing soil.
- Incorporate new soil into the ground.
Whatever option you choose, make sure the components are mixed and distributed evenly throughout the area to be sodded. Then press the soil down to make it flat and even.
Caution: Avoid strong compression as it may push out all the air, which may be necessary for proper root establishment, through the sod.
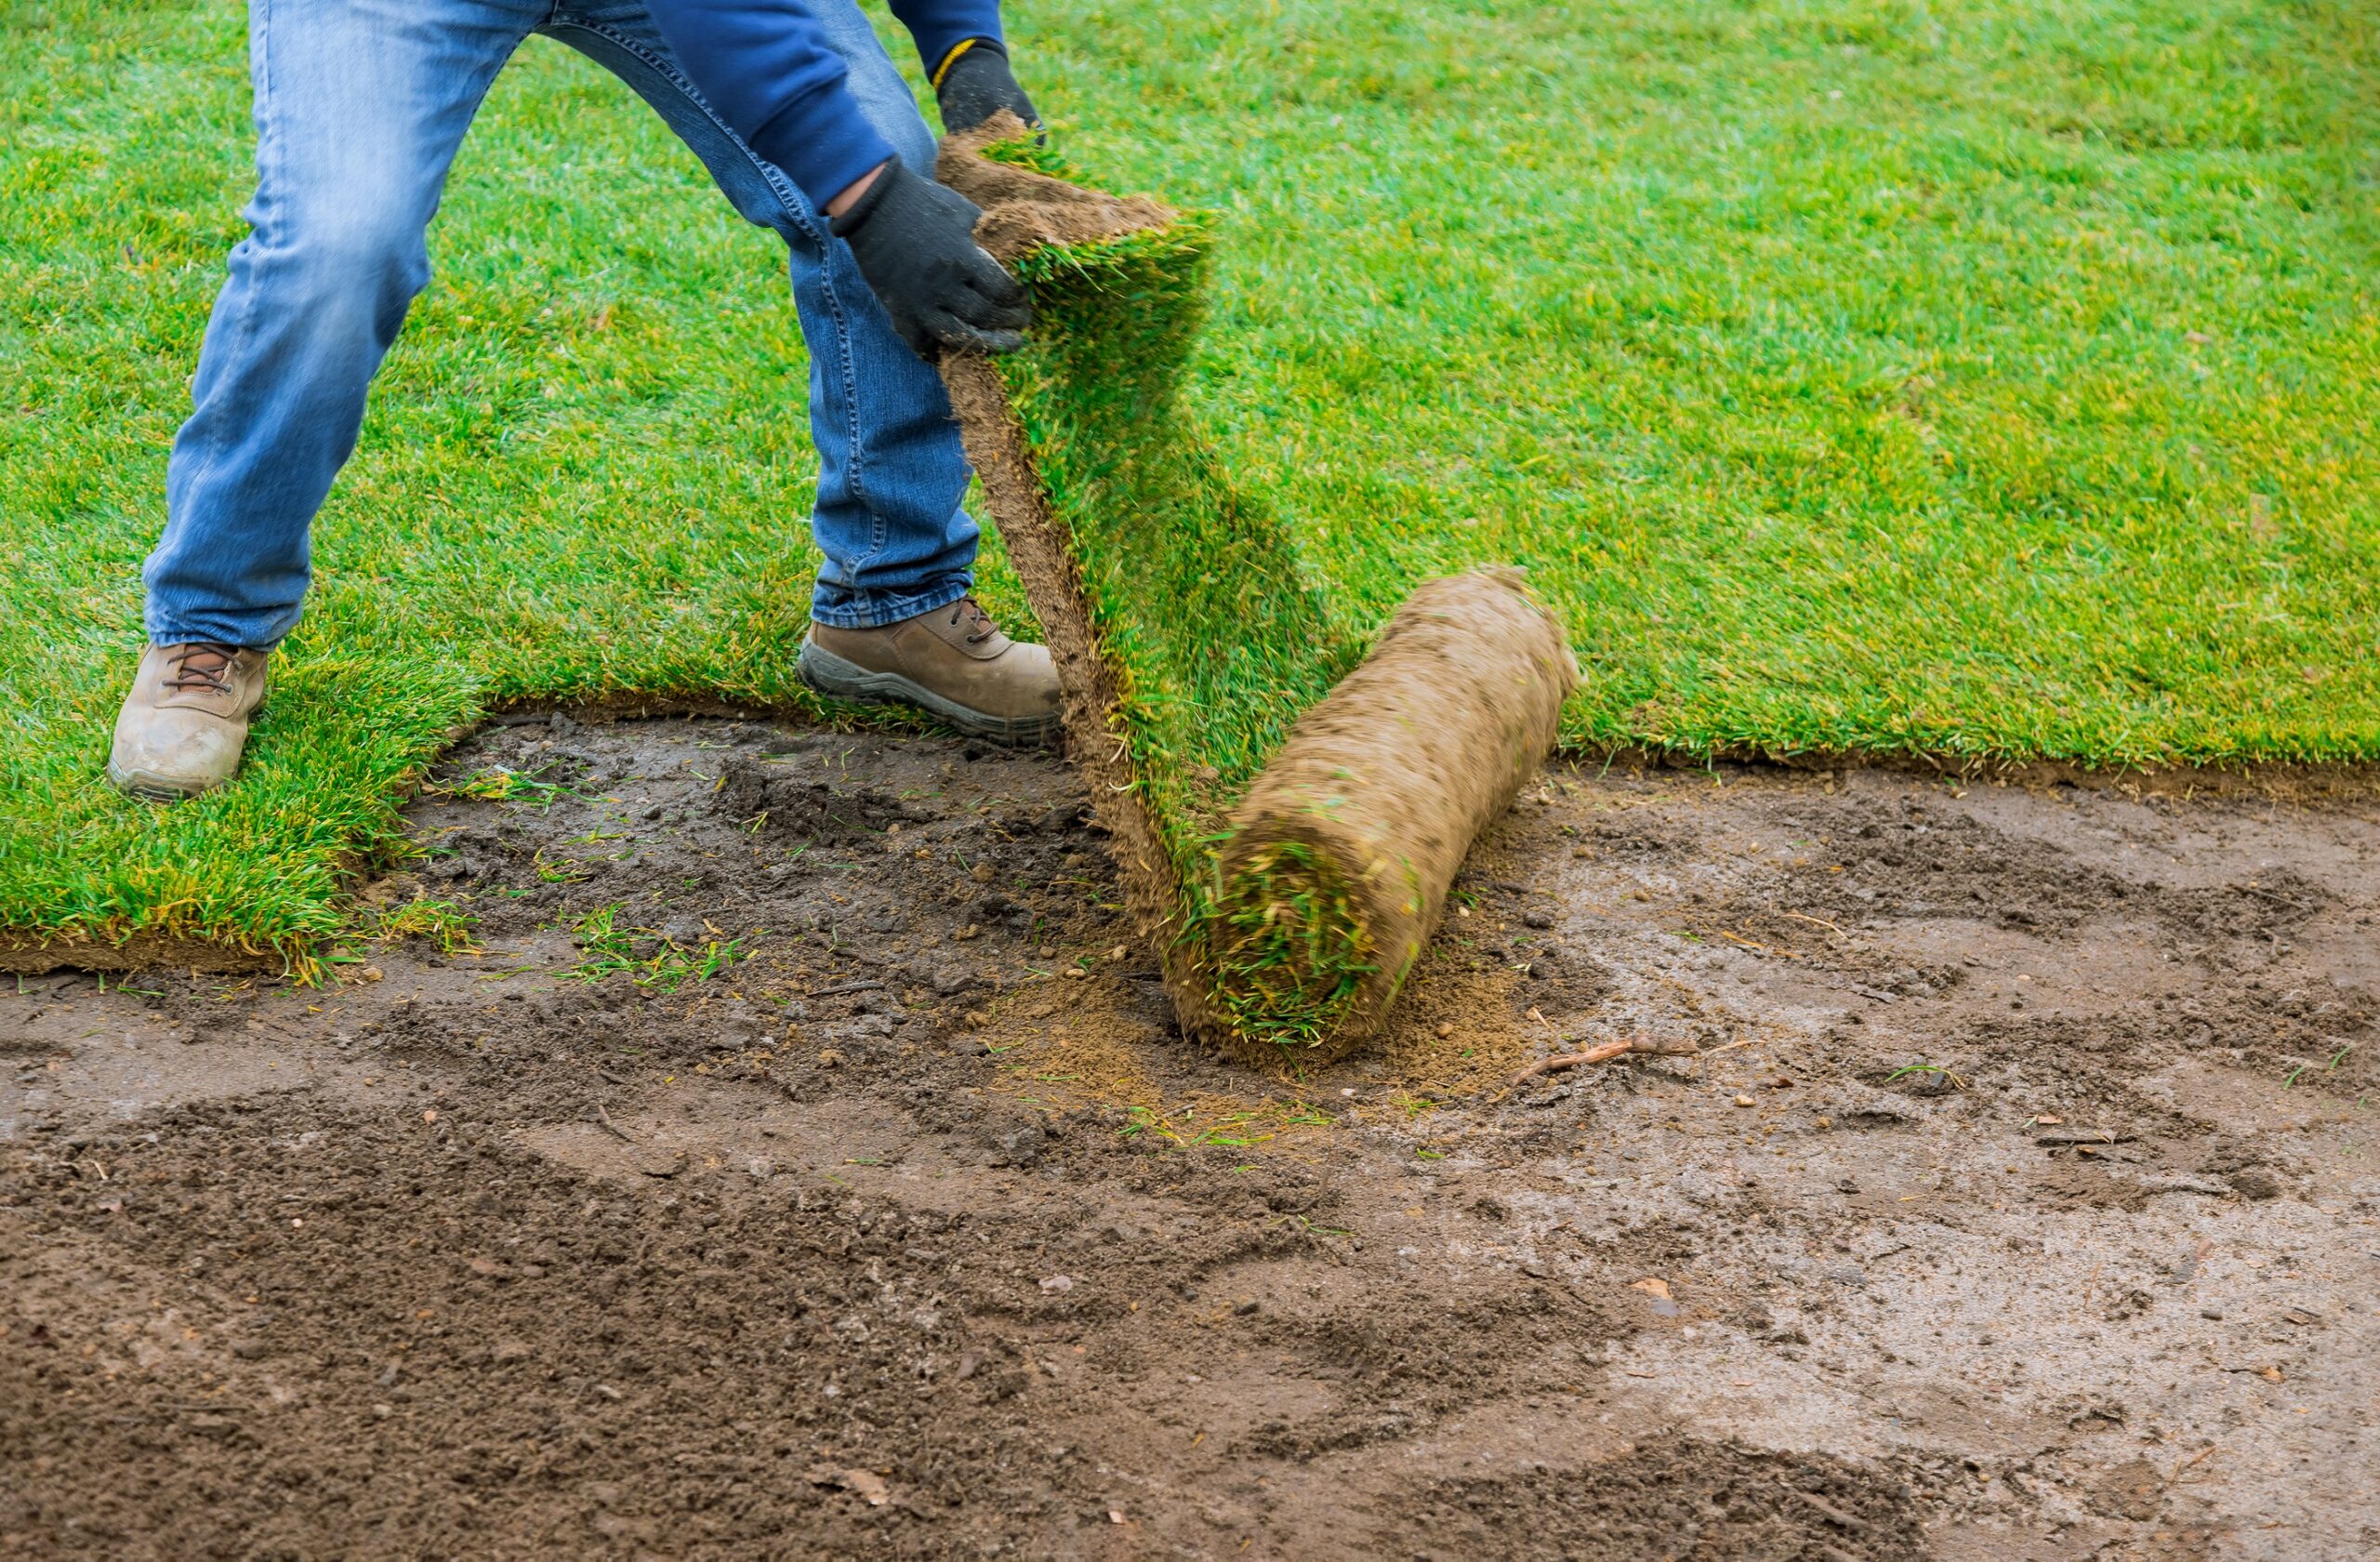
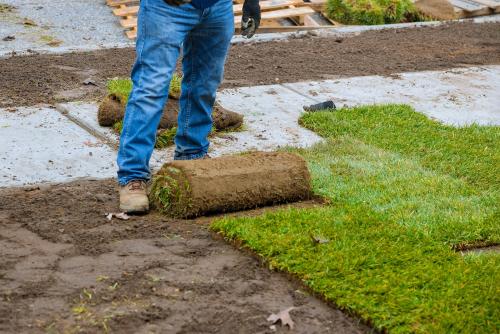
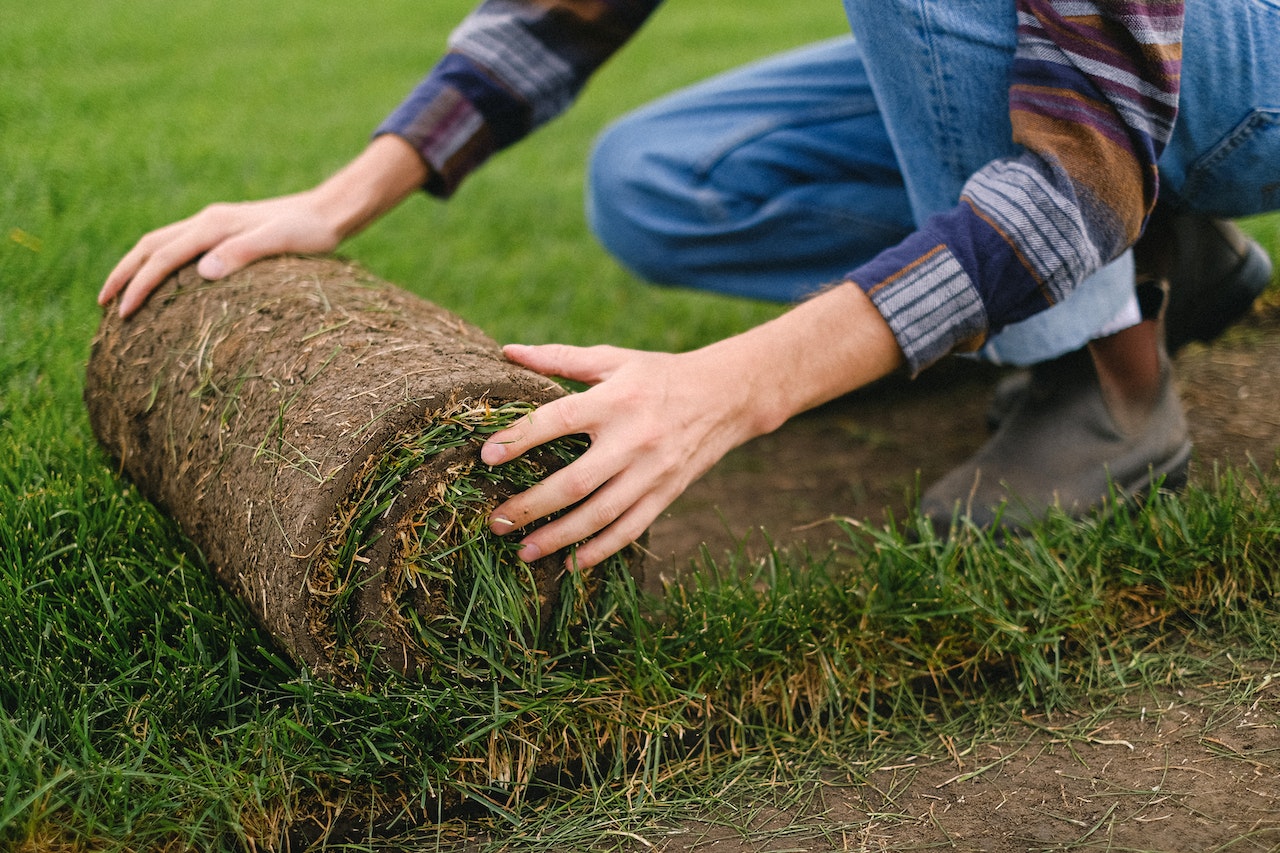
2. Laying the Sod Improperly
Follow these steps to lay the sod correctly in your driveway, sidewalk or patio.
- Push and butt the ends and edges against each other tightly.
- Use a sharp knife to stagger joints in a brick-like way.
- Avoid leaving small strips, gaps, and overlapping.
- Do not walk on the newly installed sod.
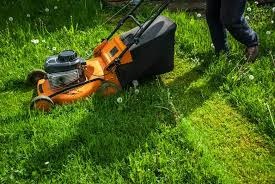
3. Mowing Too Soon
During the first two months after installation, the sod grows uncontrollably. The purpose of this growth is the root establishment, so you have to fight the urge to mow it down. Early mowing damages the newly laid sod in two ways:
- The weight of the lawn mower damages the newly formed roots.
- Grass can die due to blade damage.
You wouldn’t want to damage your new sod. Right? So, keep the mower away for at least the first 8 weeks after the installation.
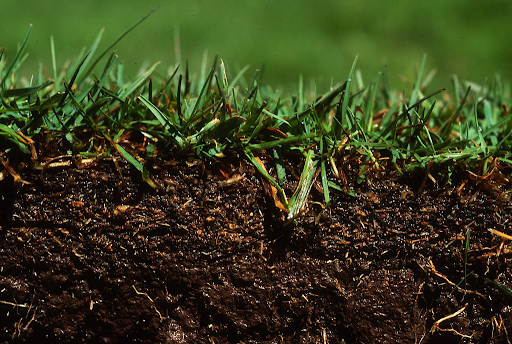
4. Not Allowing the Sod to Root
After successful installation, allow the sod to root properly. This may take several weeks, depending upon the weather conditions and the type of sod used. Walking or mowing during these periods may dislodge the roots, leaving patchy and uneven growth.
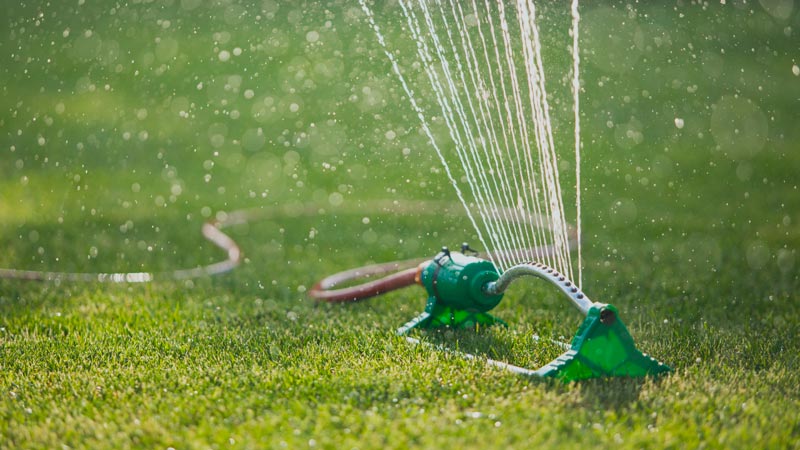
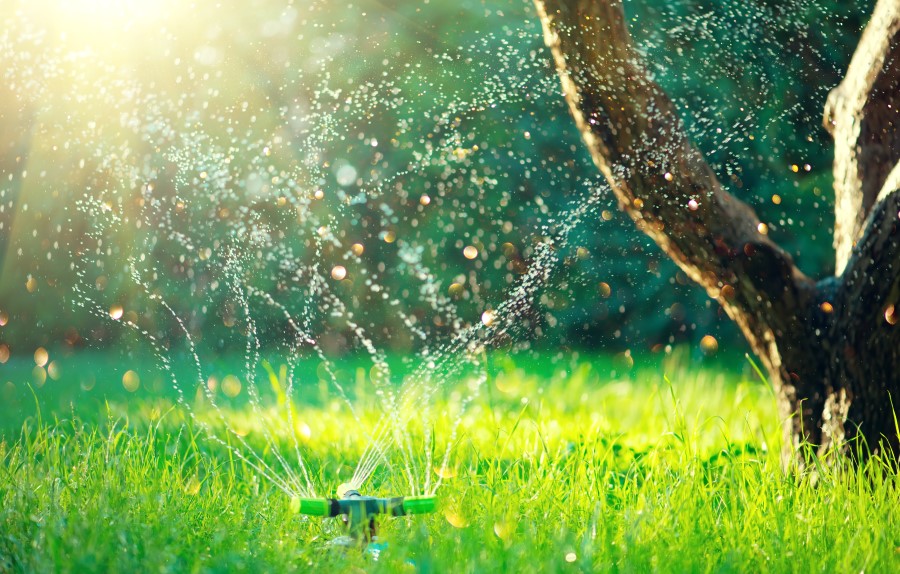
5. Not Watering Your Sod
New sod needs precise water requirements to help it adhere to the underlying soil strongly. Watering depends on other factors too, like temperature, shade, and precipitation.
The general rule of thumb claims the sod needs ½ to ¾ uniformly distributed water over the entire lawn for 4 weeks.
Follow the guidelines of your sod manufacturer or local recommendations and examine root establishment. If the sod does not pull away from the underlying soil, you are following the right strategy!
6. Forgetting Reflections
While it does not affect the installation process directly, checking for reflections is necessary for a healthy, thriving lawn. Make sure the sunlight does not reflect on the new sod- otherwise, you may have burned damage to the newly installed lawn.
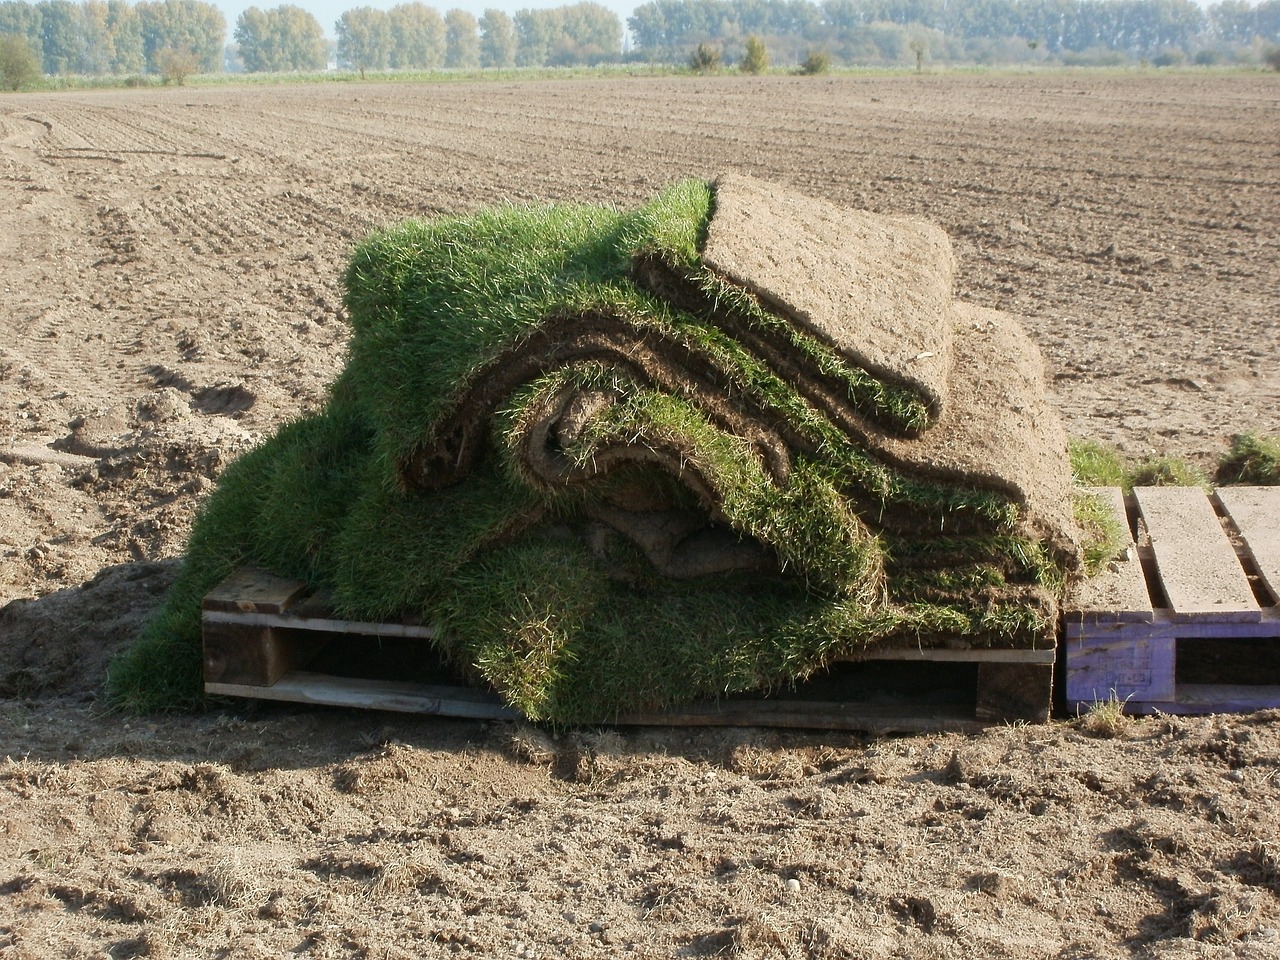
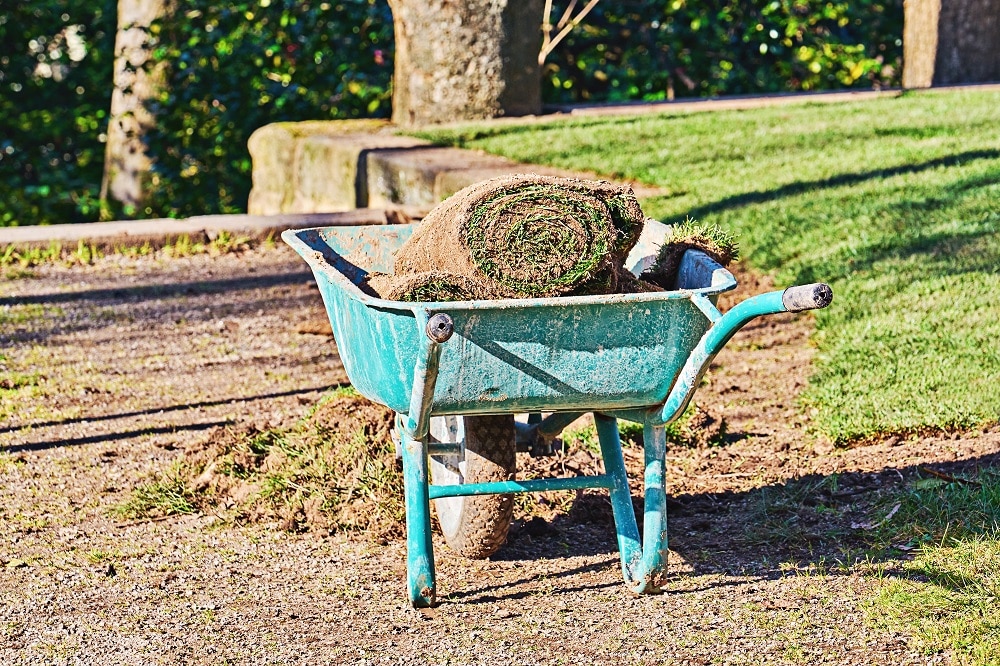
7. Buying Sod too Early
If you are into new sod installation, you would probably be looking for various grass varieties. Before choosing any type, consider factors like composition, proximity to salt and sand spray, and proneness to floods.
Once the sod is selected, you may rush to put in an order so you can get exactly what you desire. But wait. Slow down.
Like any other plant, soda also starts drying after being harvested. If you buy the sod days before the installation date, you may end up with a dry, wilted, or crunchy sod. This will not thrive properly no matter how much effort you put in to keep it alive.
It’s better to install turfgrass for the best outcomes. These grasses form a uniform ground cover and require low mowing.
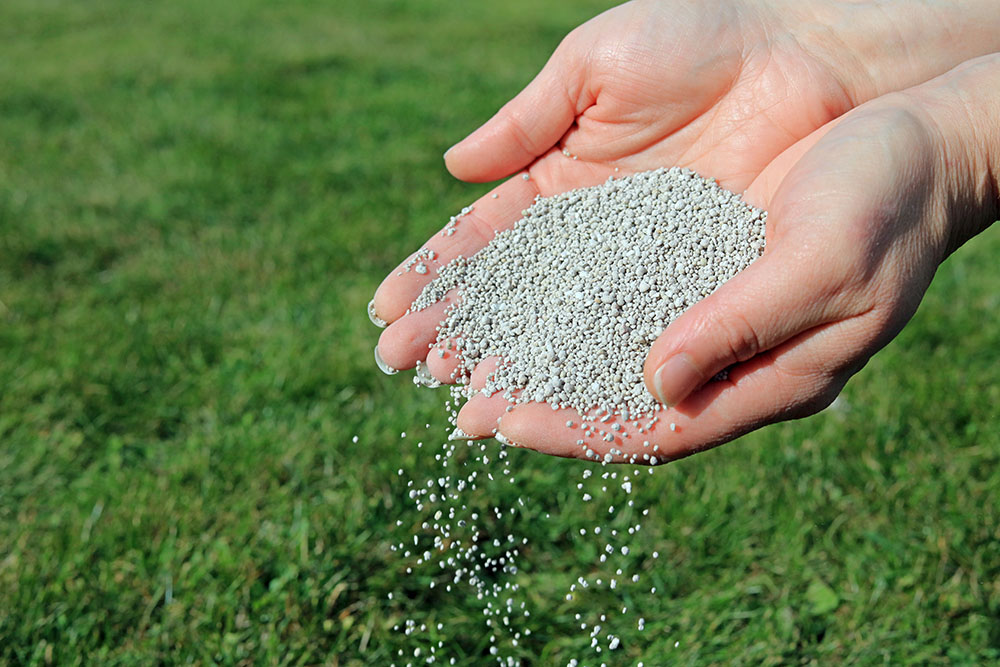
8. Fertilising too Soon
Sometimes, the sod may not grow as fast as you expect it to be. This may trick you into thinking of using fertilizer. If yes, STOP!
Fertilizers are not for the new sod. They will damage the root systems, leaving behind dead, brown patches. Wait for 3-8 weeks to let roots establish fully. Then apply fertilizer (if needed).
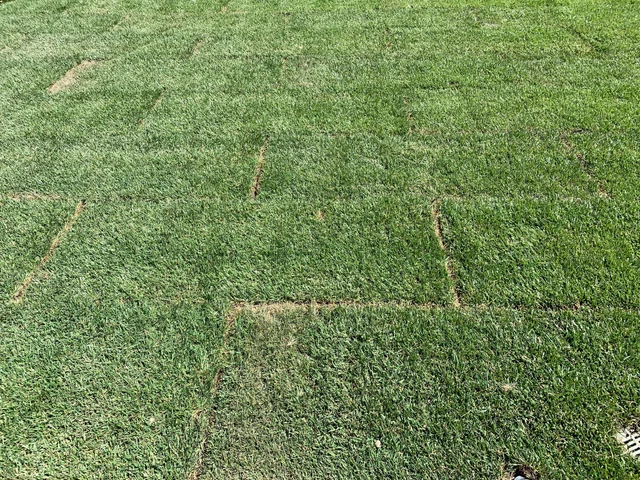
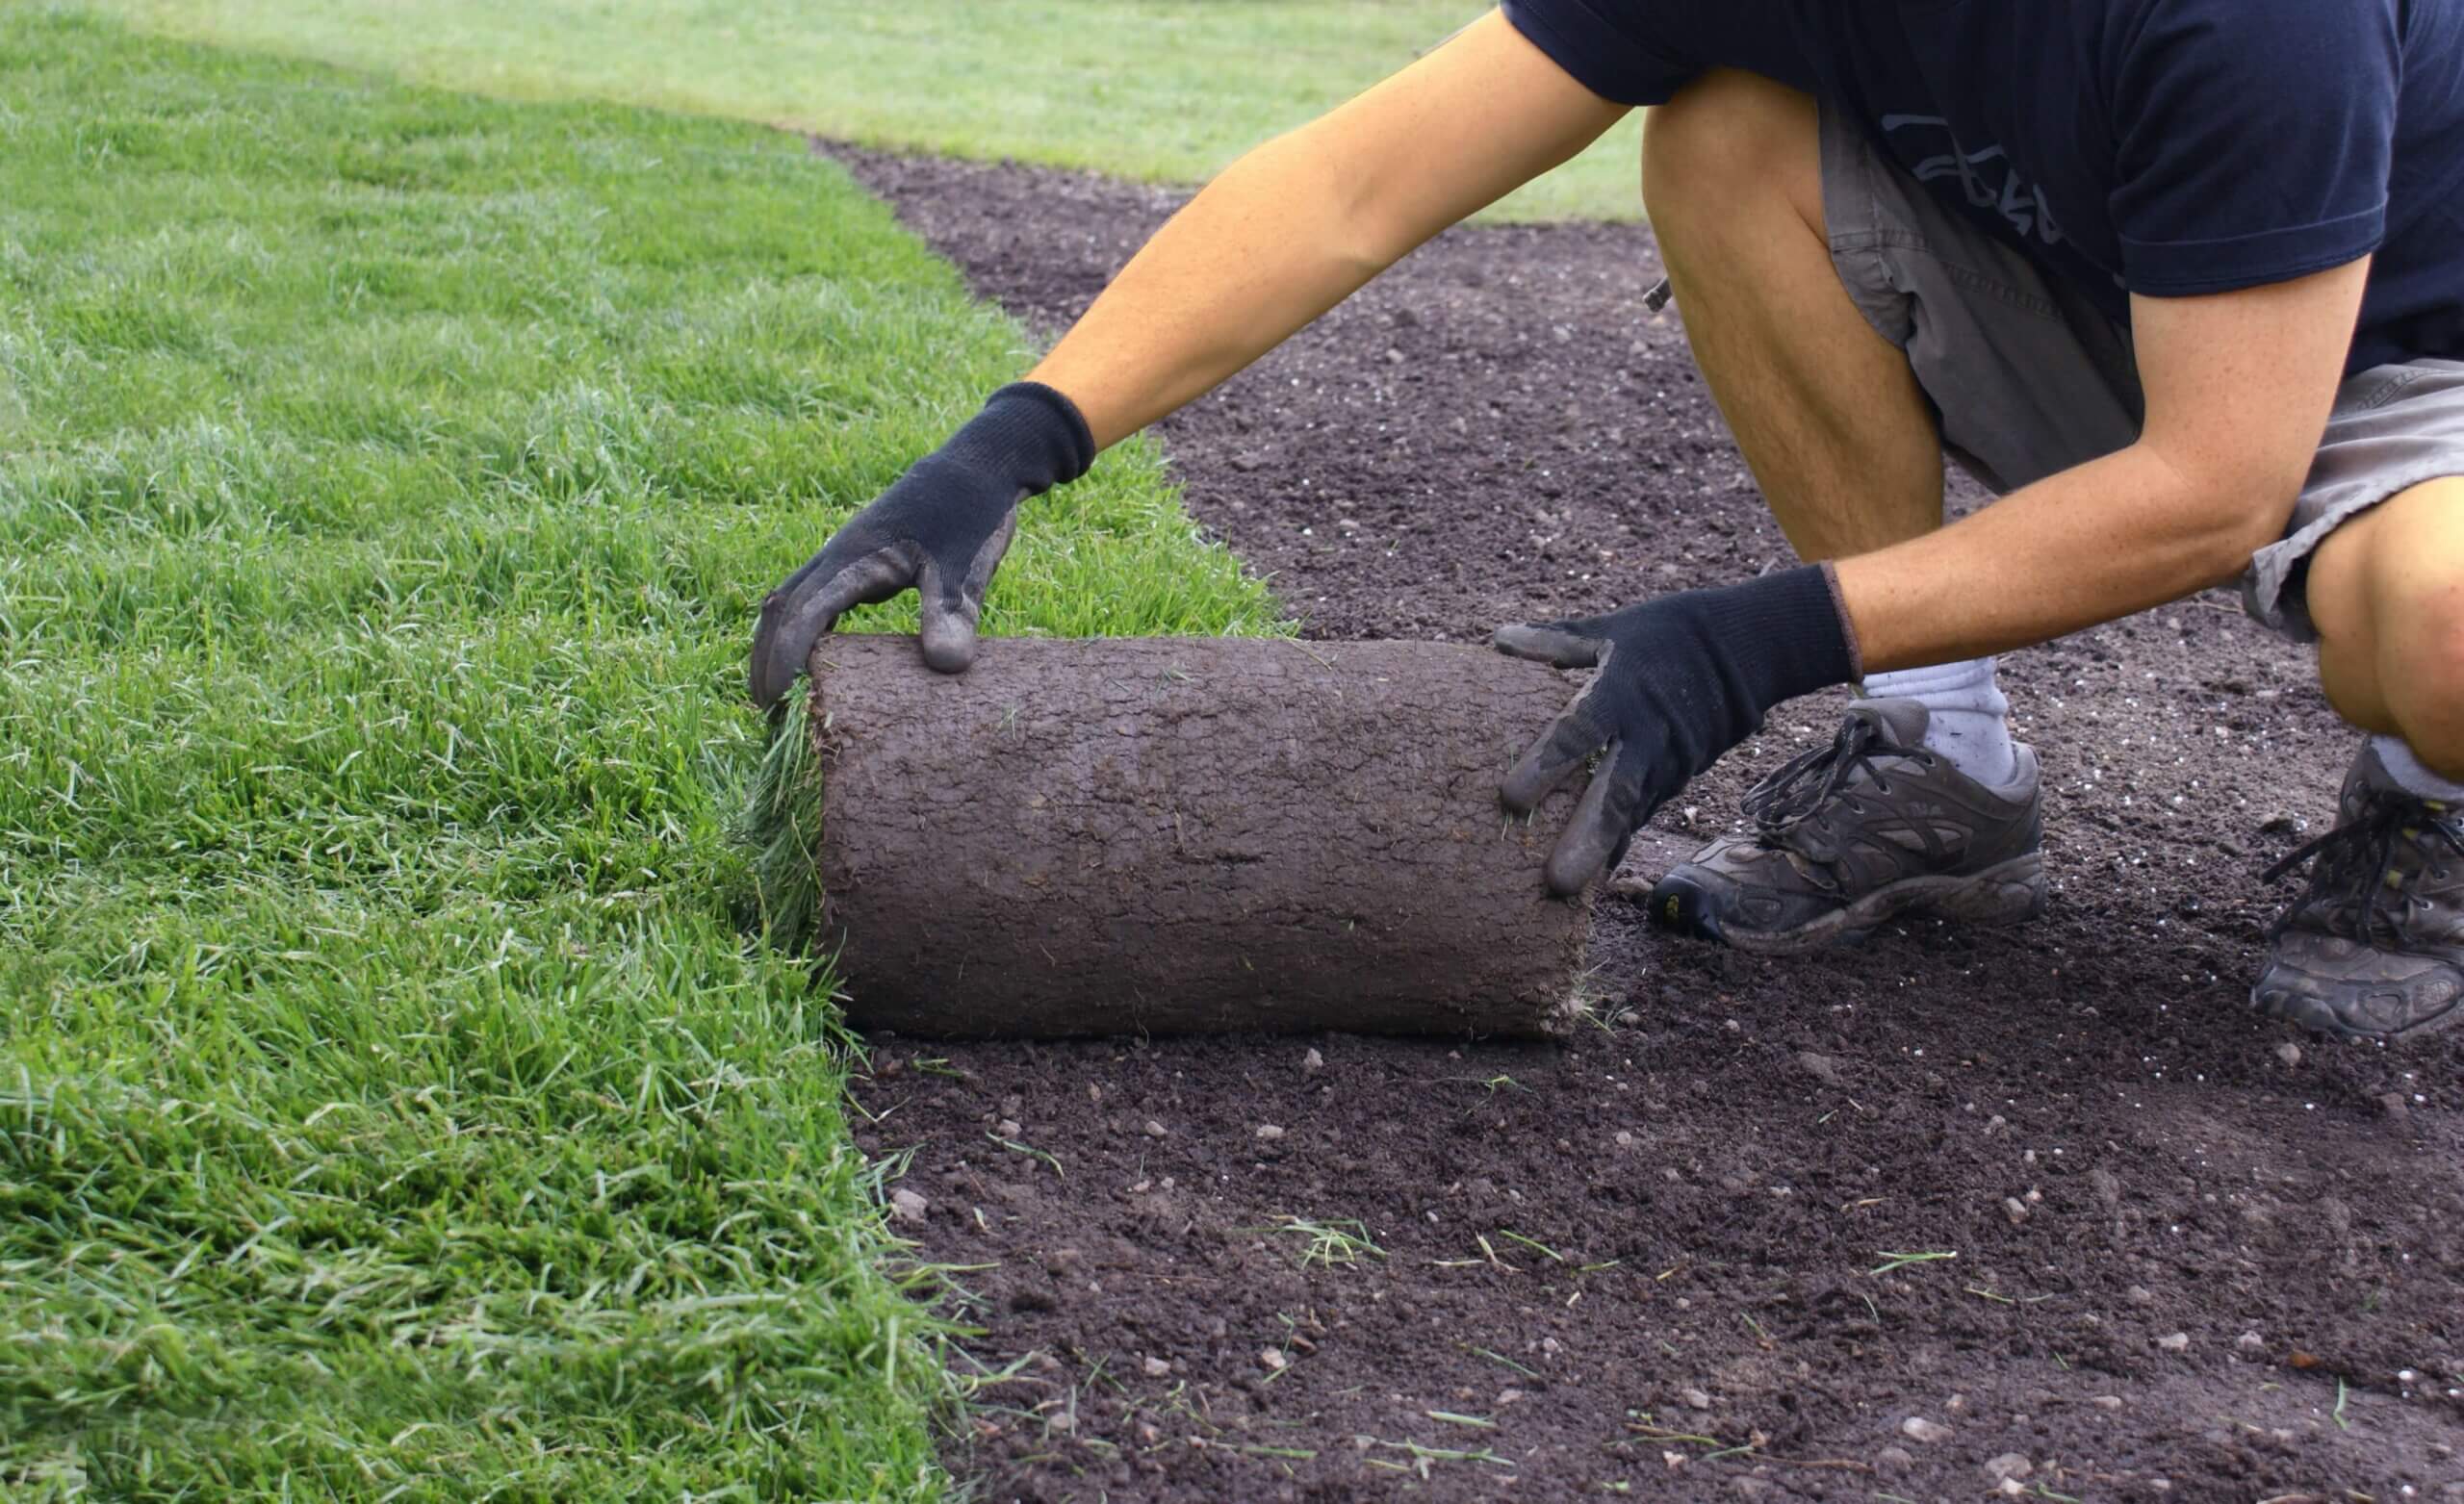
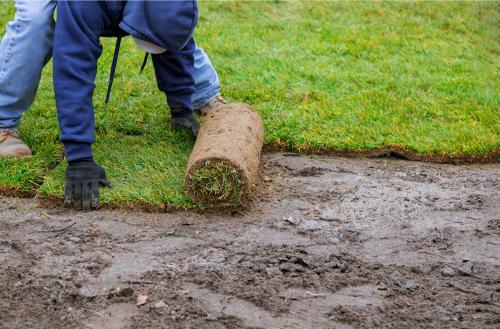
9. Gaps Between Sod
Placing sod together is more like playing a jigsaw puzzle- every piece must fit properly. Don’t stuff the sod in areas where it does not fit nicely. Place the grass over the dedicated area in a smooth way so that it looks even and uniform without empty patches.
Here are a few techniques to fill the gaps between the sod:
Topdressing: The application of compost, sand, or both to improve soil structure, increase nutrient levels, and promote healthy turf. You can buy a topdressing mixture from a nearby lawn store. Keep the topdressing area moist. This helps the grass grow naturally.
Seeding: Place some compost on the gaps and sprinkle the same grass seeds as already existing on the lawn. Water as per given guidelines to promote natural growth.
Patching: It is the fastest way to fill gaps with ease. You can buy additional sod sections or utilize the leftovers during the sod installation process. Cut the patch the same size as the gap and place it smoothly over it. Water regularly to let it grow soon.
10. Not Flattening the Sod
Once the sod is laid, it’s time to flatten it with a roller. You can buy a sod roller from the local market or buy online. Flattening ensures there are no air bubbles left beneath the surface, and maximizes soil-to-root contact. This results in a strong root establishment and a nicer-looking lawn in the long run.
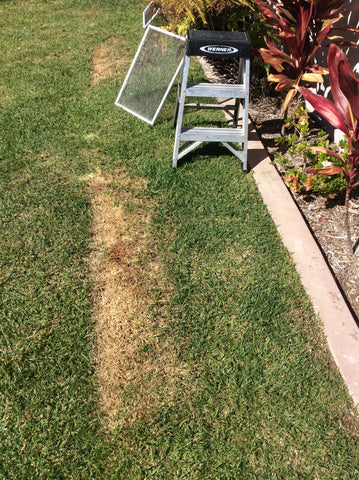
11. Failing to Check Up on Sod’s Progress
Even if you have installed the sod properly, the job is not done there. You have to check its progress continuously. Look for dry patches in the lawn, otherwise, the grass will die in a few days.
Get a Quote for Lawn Installation from Guerrero Landscaping
While sod installation may seem like a DIY task, achieving the best results requires expert guidance and a keen eye. If you are considering sod installation for your yard, Guerrero Landscaping is here to help at your doorstep. We lay the foundation of your vibrant lawn with our efficient sod installation services.
Get a quote to learn more about our services or contact us for professional landscaping guidance.